the problem
As a competitive curler, from Minnesota high school bonspiels to the Notre Dame Curling Club, I noticed a glaring gap: while other sports equipment is constantly being innovated and improved upon, curling equipment remains stagnant.
I saw this as an opportunity for innovation and set out to modernize the sport of curling by improving upon the traditional stopwatch and stabilizer.
the products
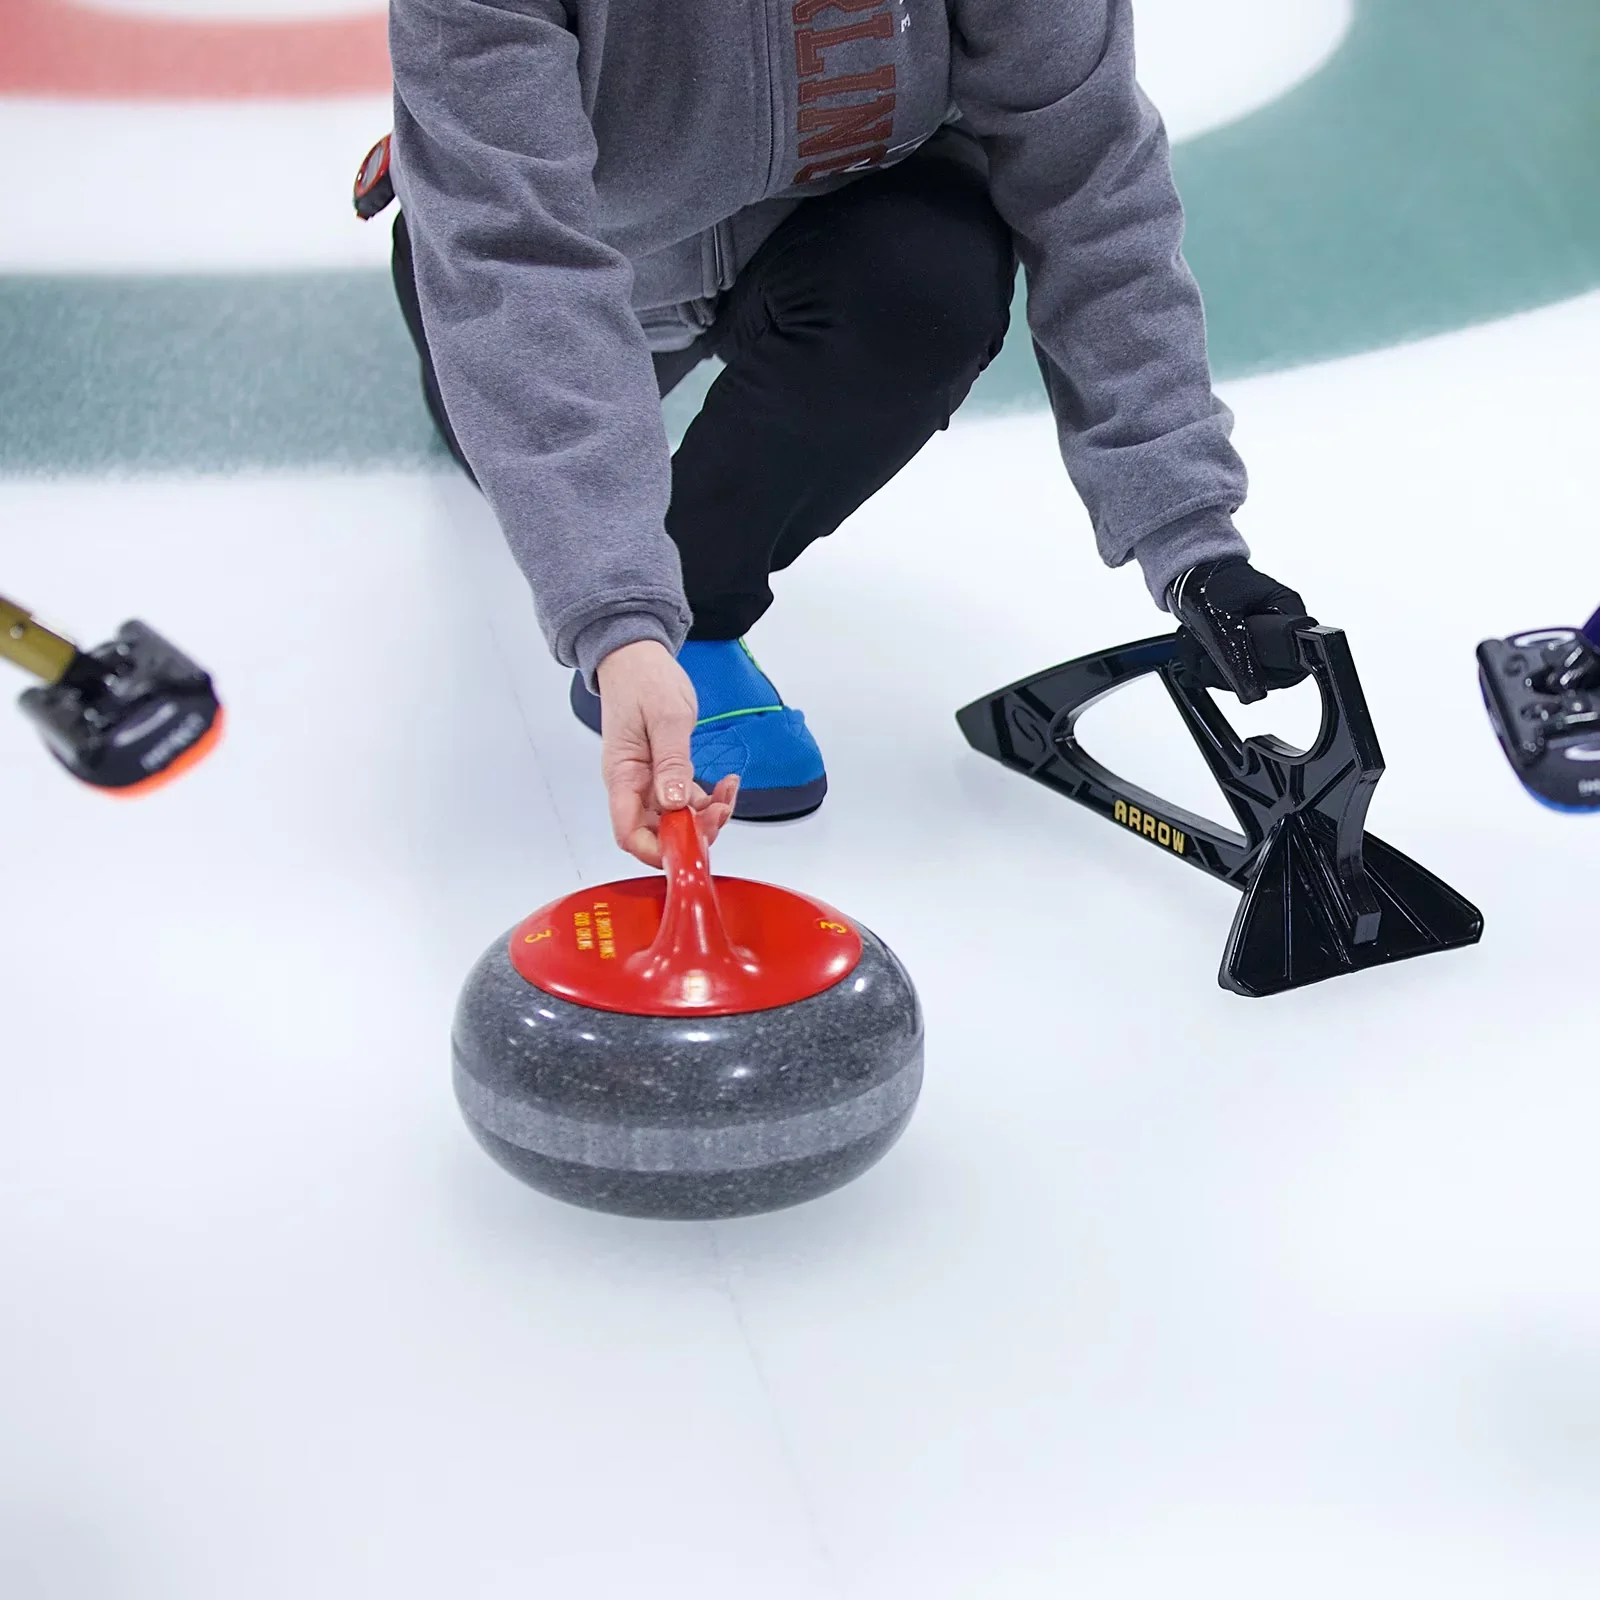
stopwatch
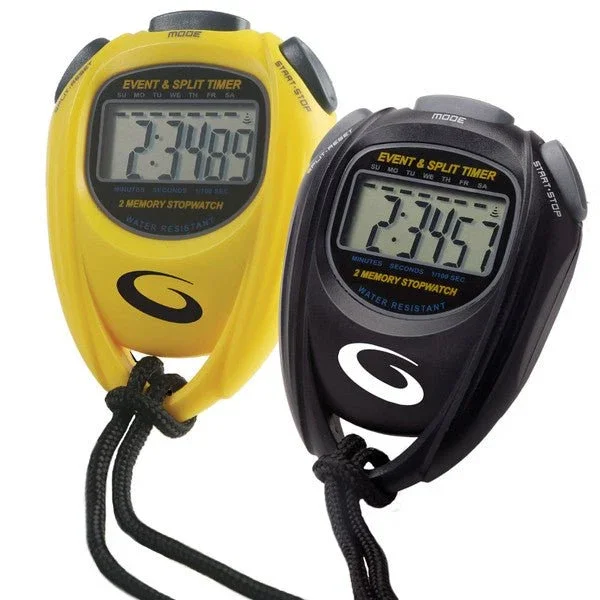
Curlers use handheld stopwatches to gauge the speed of their shots, but in a fast paced game on slippery ice, it can be conversome to have a stopwatch dangling from a lanyard or having to quickly put it in your pocket during play. With this product, I wanted to create a stopwatch that attaches to a broom handle in order to eliminate the risks that come with a handheld stopwatch. Since using a stopwatch is a skill for higher level curlers, this product is aimed towards professional or highly experienced curlers in order to improve performance.
stabilizer
Professional curlers use their broom to balance when throwing the stone, while beginner curlers or curlers who struggle with balance often use a stabilizer. However, if a curler chooses a stabilizer, then they can’t also hold a broom. I aimed to make a broom attachment that can quickly and efficiently convert between throwing and sweeping. This product would be marketed towards beginners to aid their balance while throwing, while still teaching them how to hold a broom during the throw, without getting in the way of their sweeping.
the process
learning models
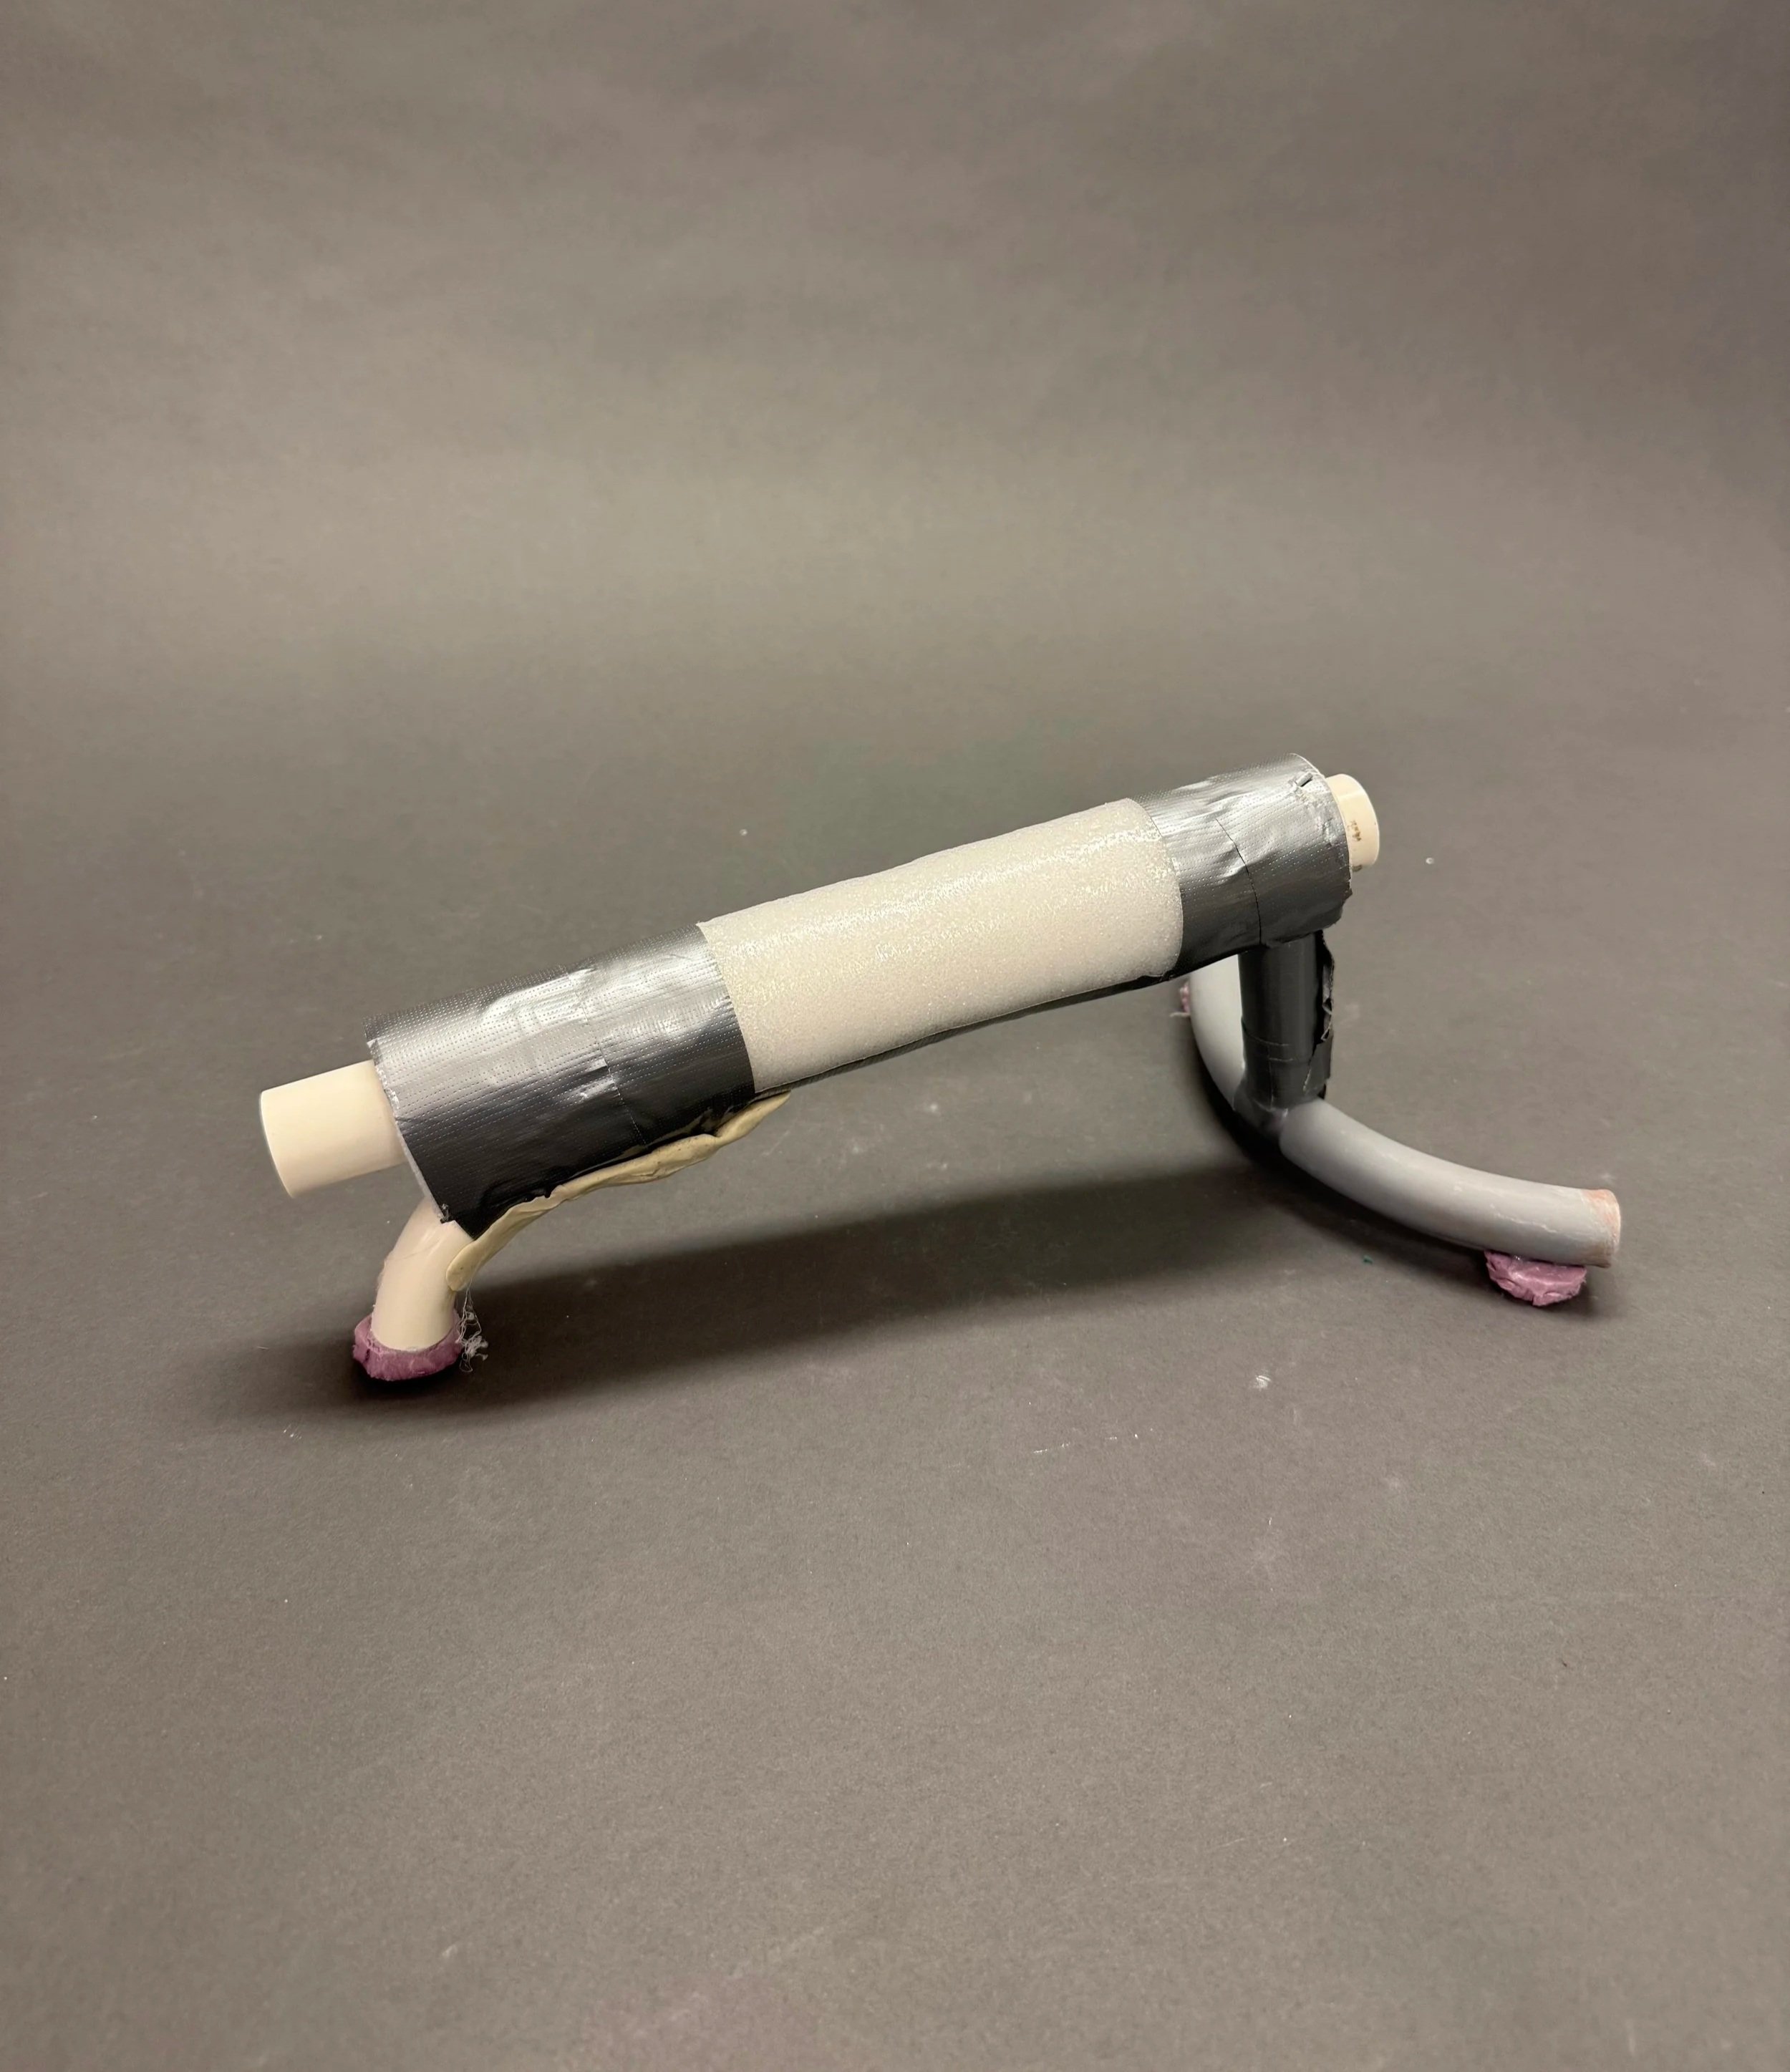
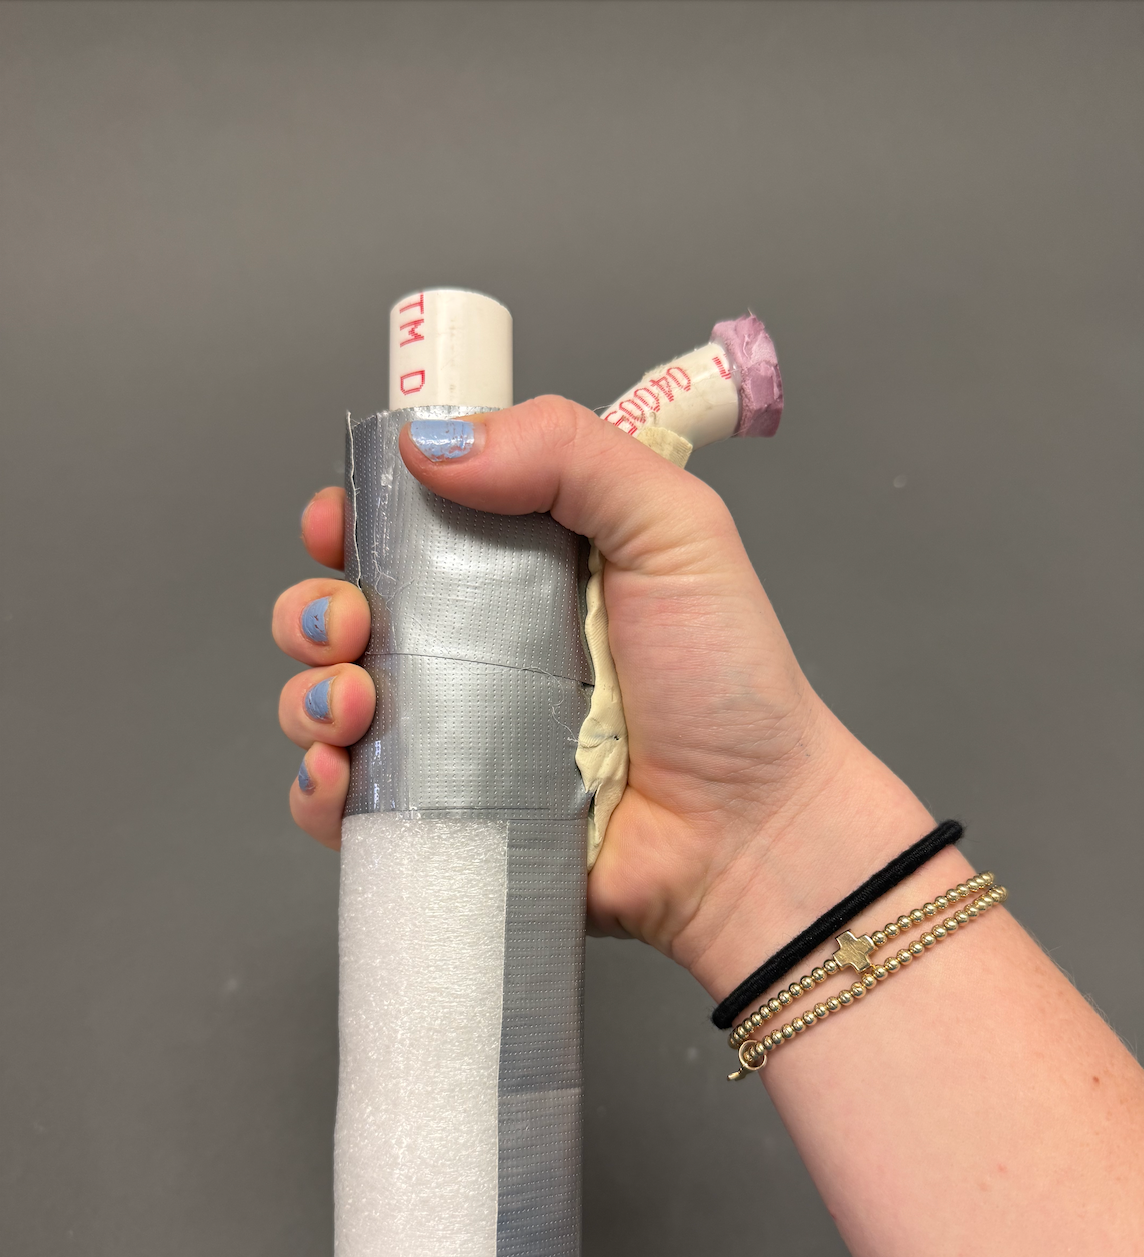
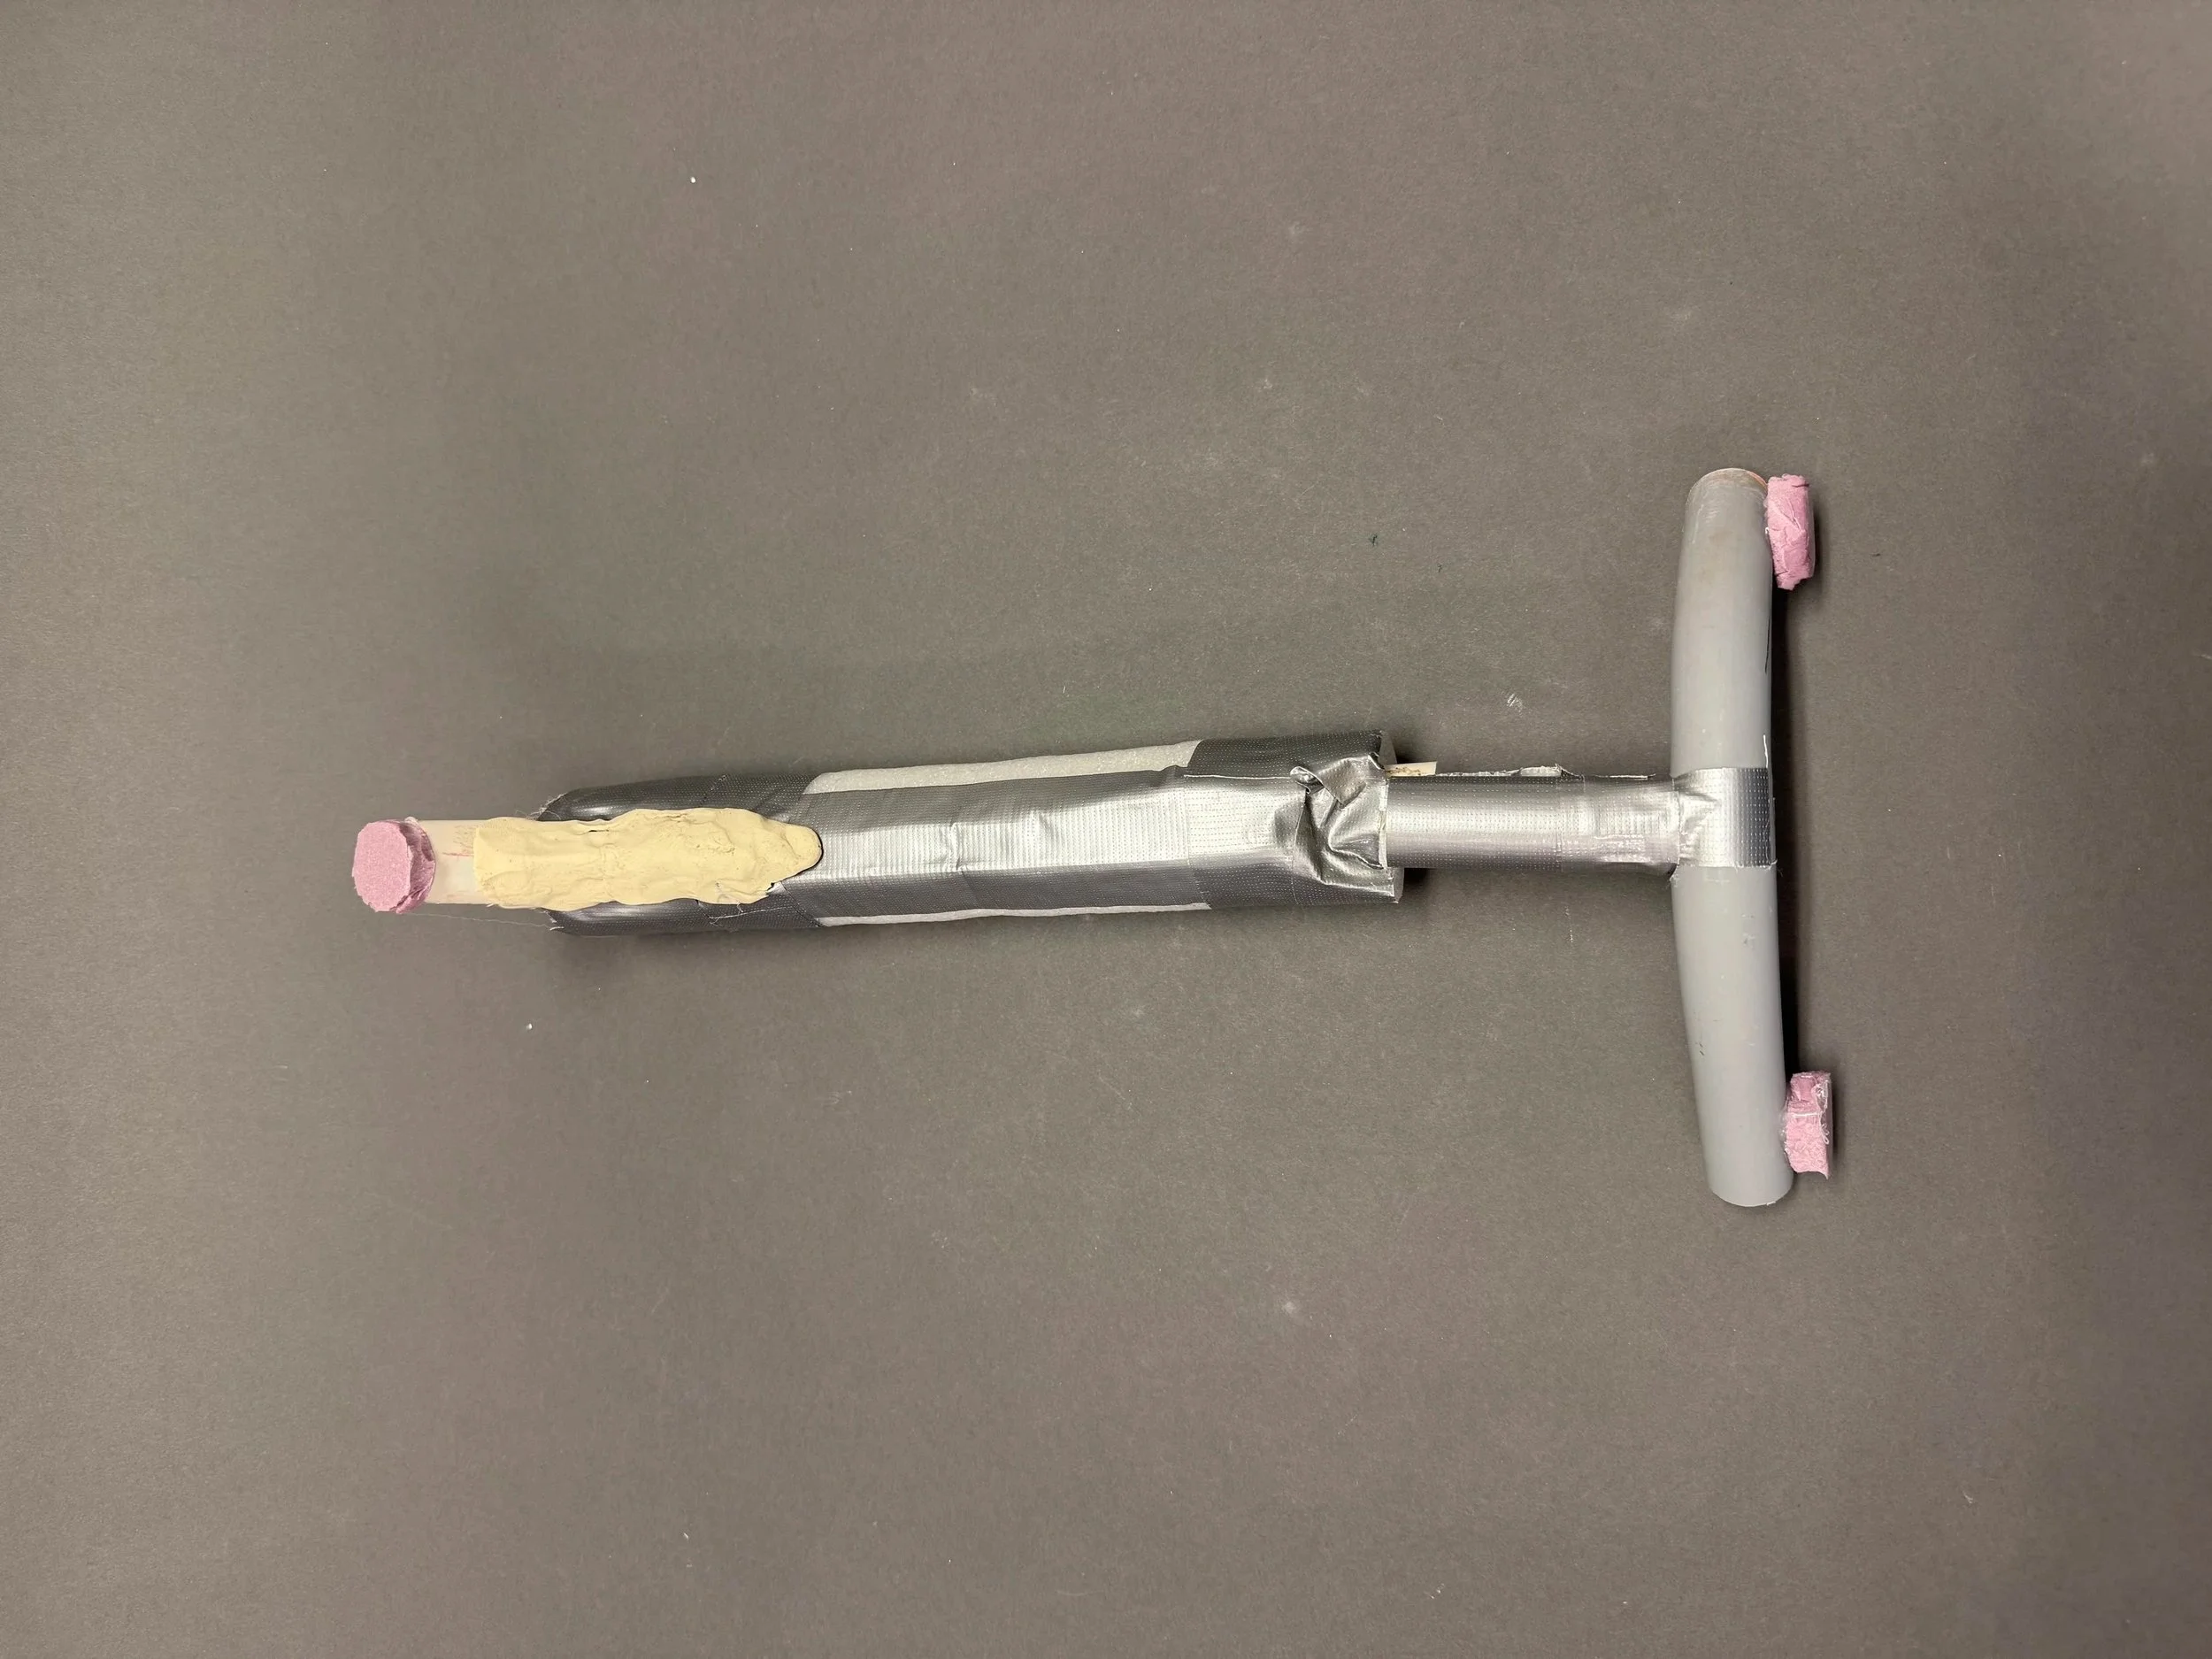
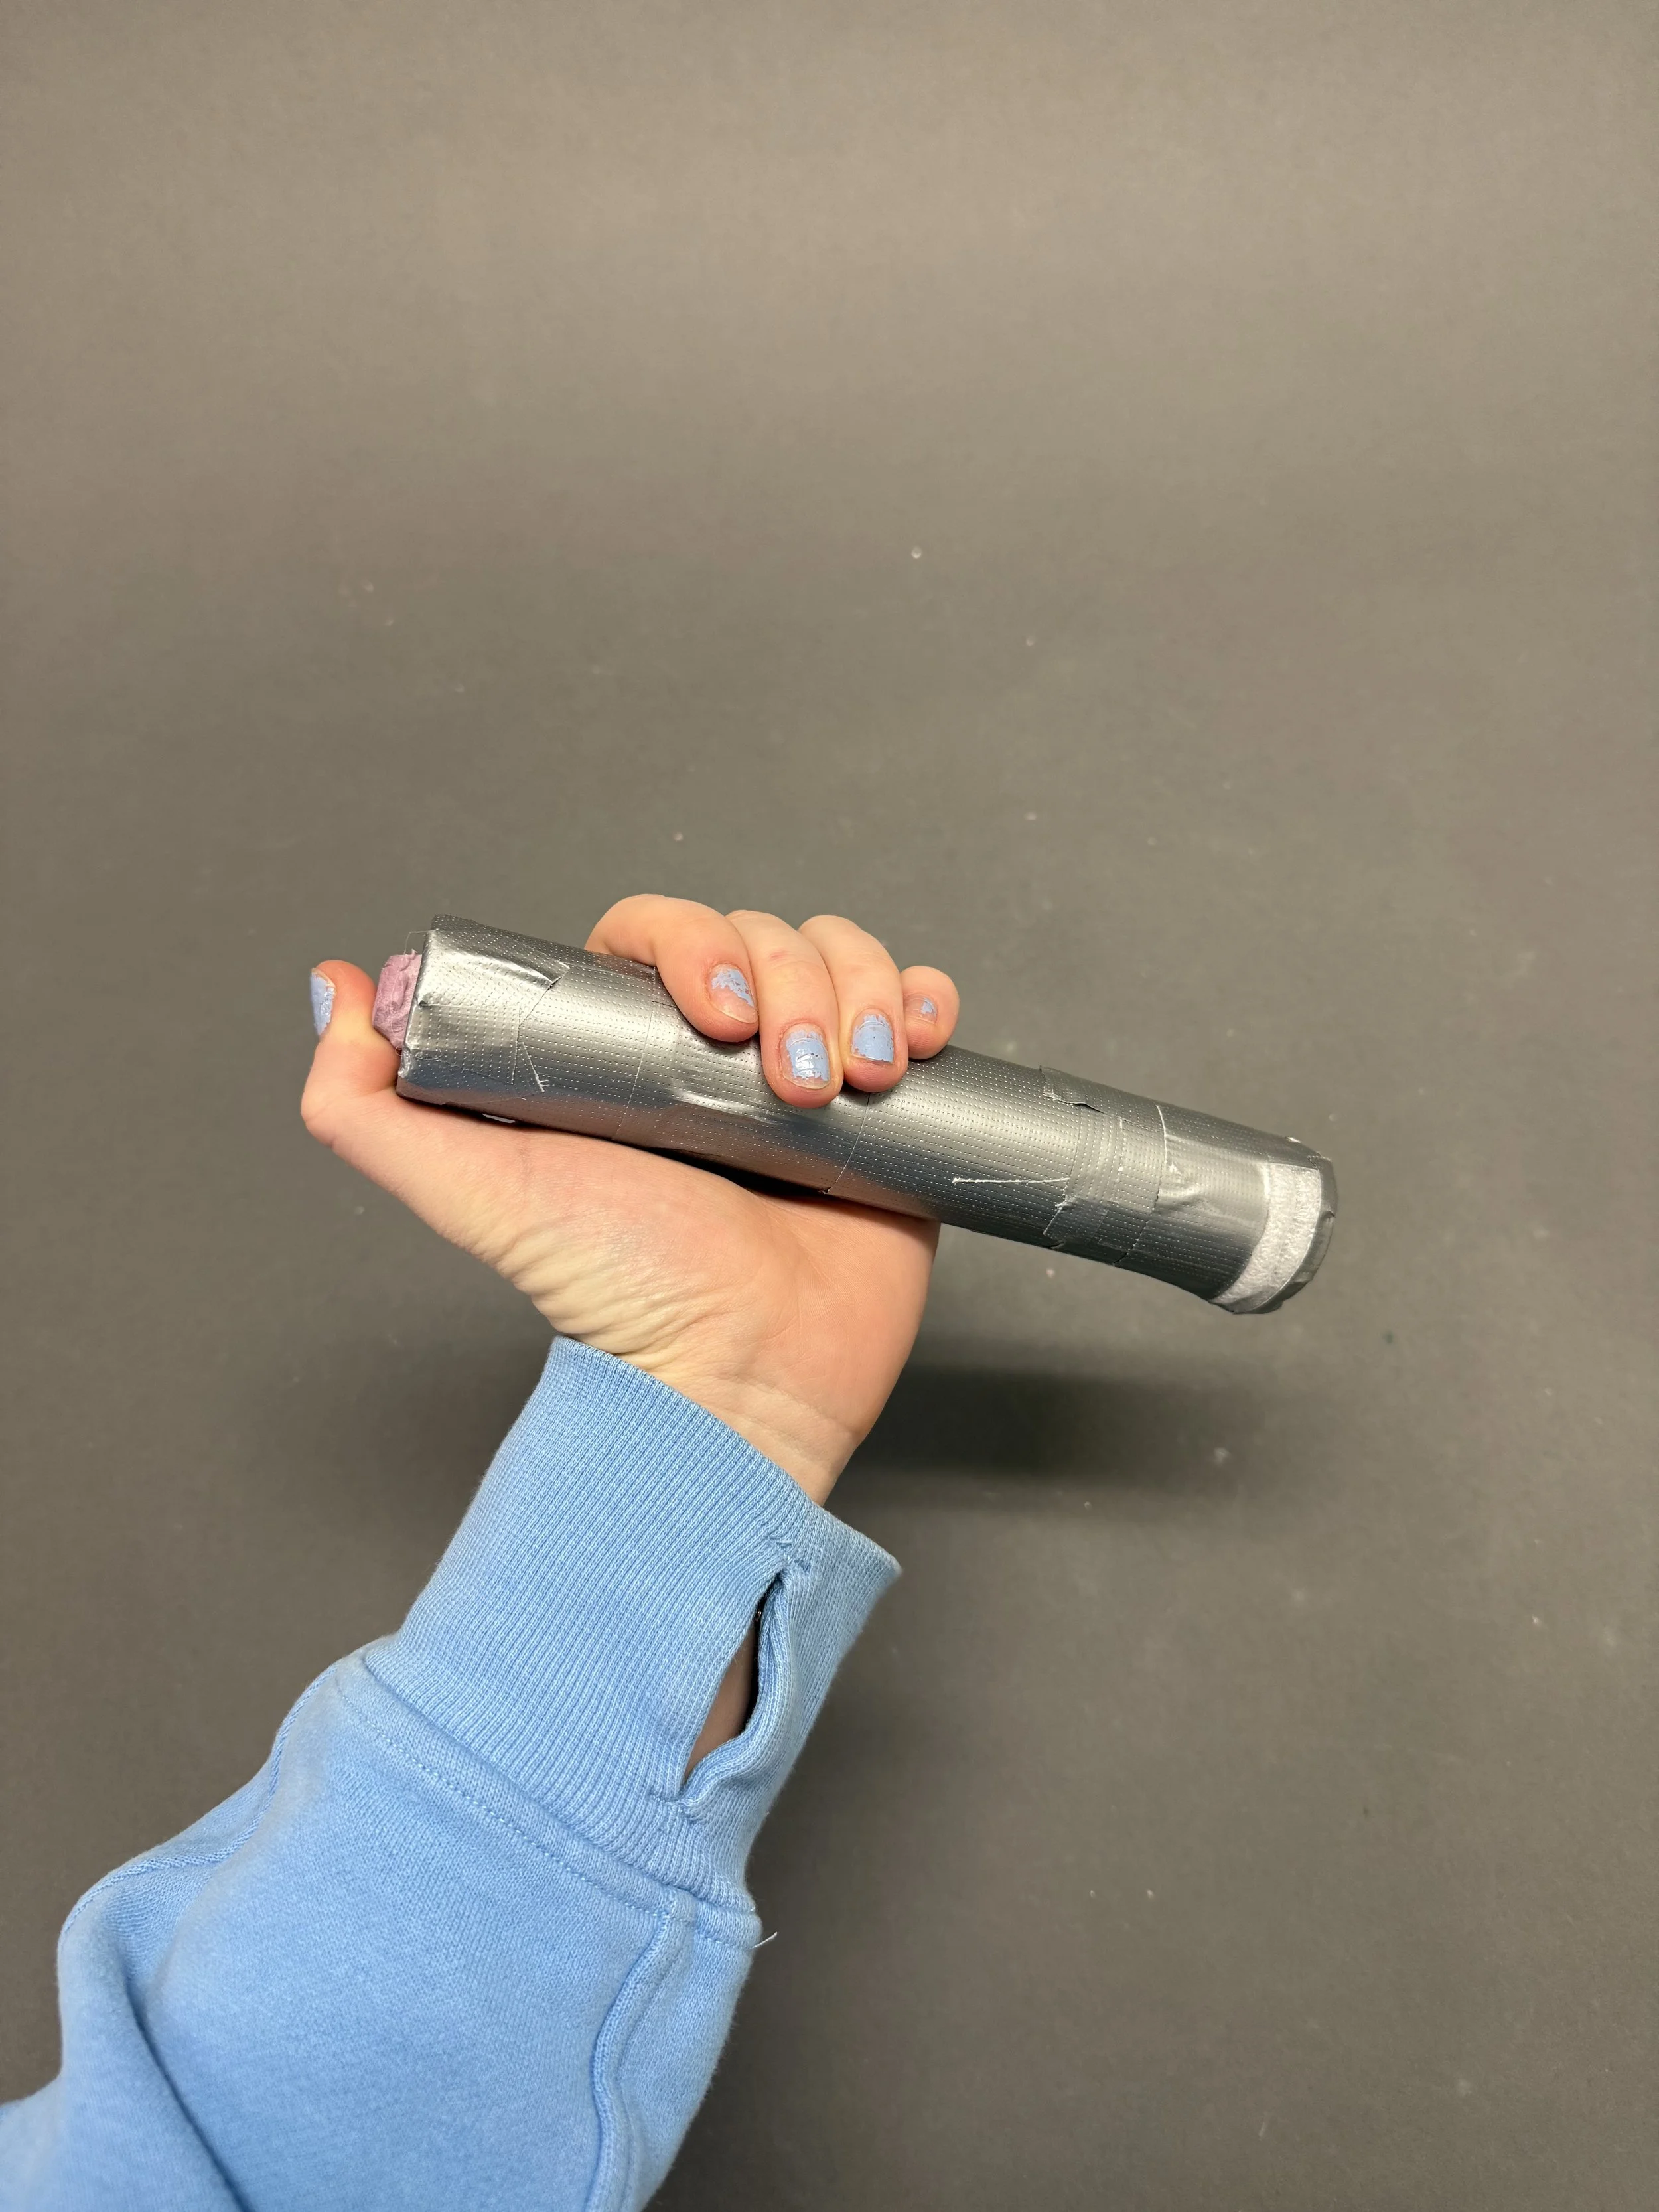
To begin the process, I created two learning models. With these, I was able to explore human factors and ergonomics with a physical representation of the equipment
Human factors and ergonomics
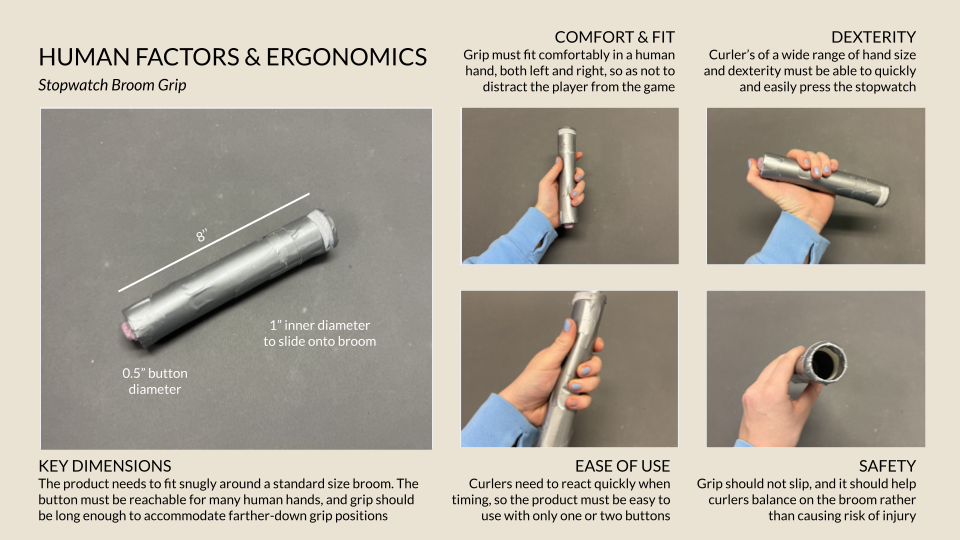
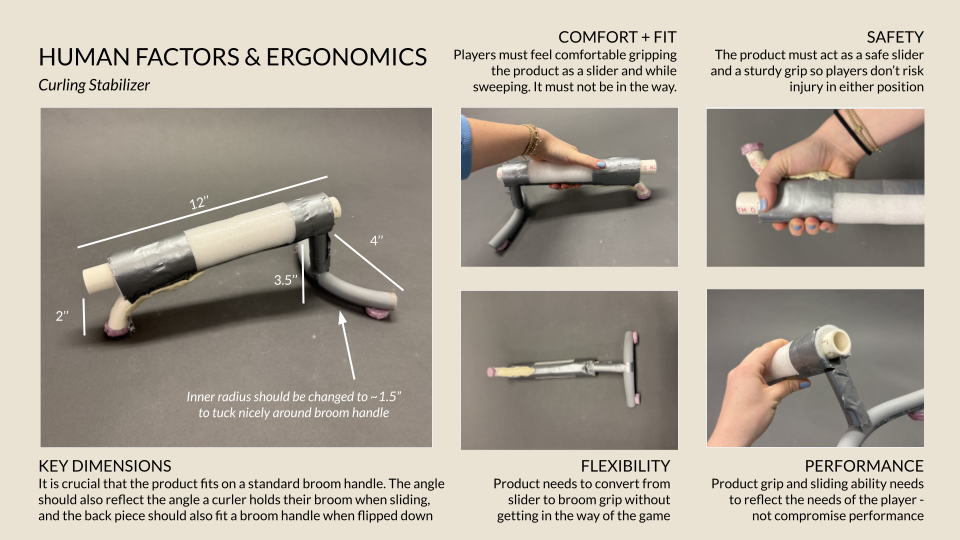
I then assessed the physical needs of each product using the learning models. I measured general dimensions and determined necessary safety and dexterity features
ideation sketches + feedback
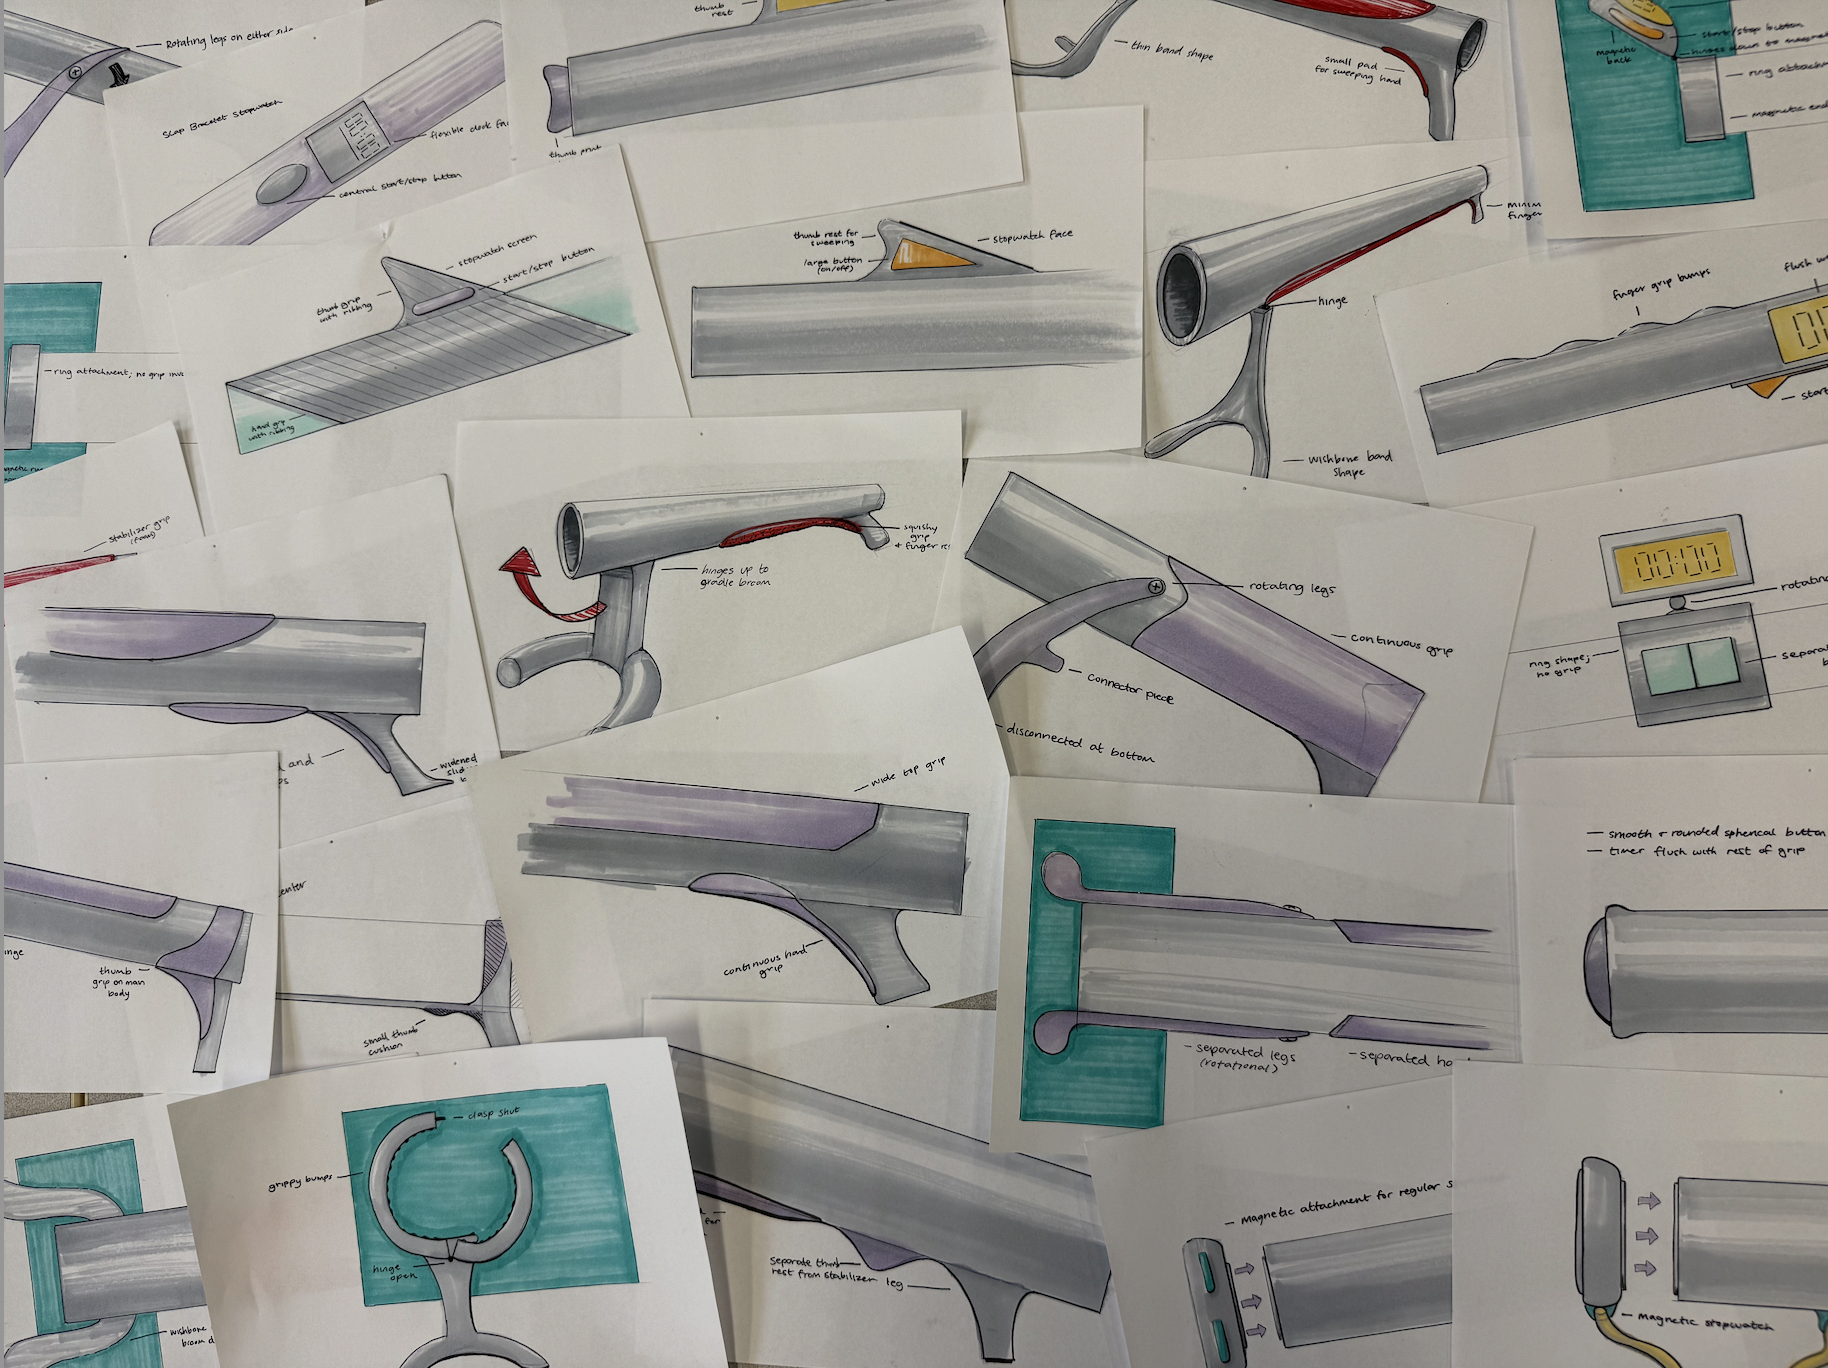
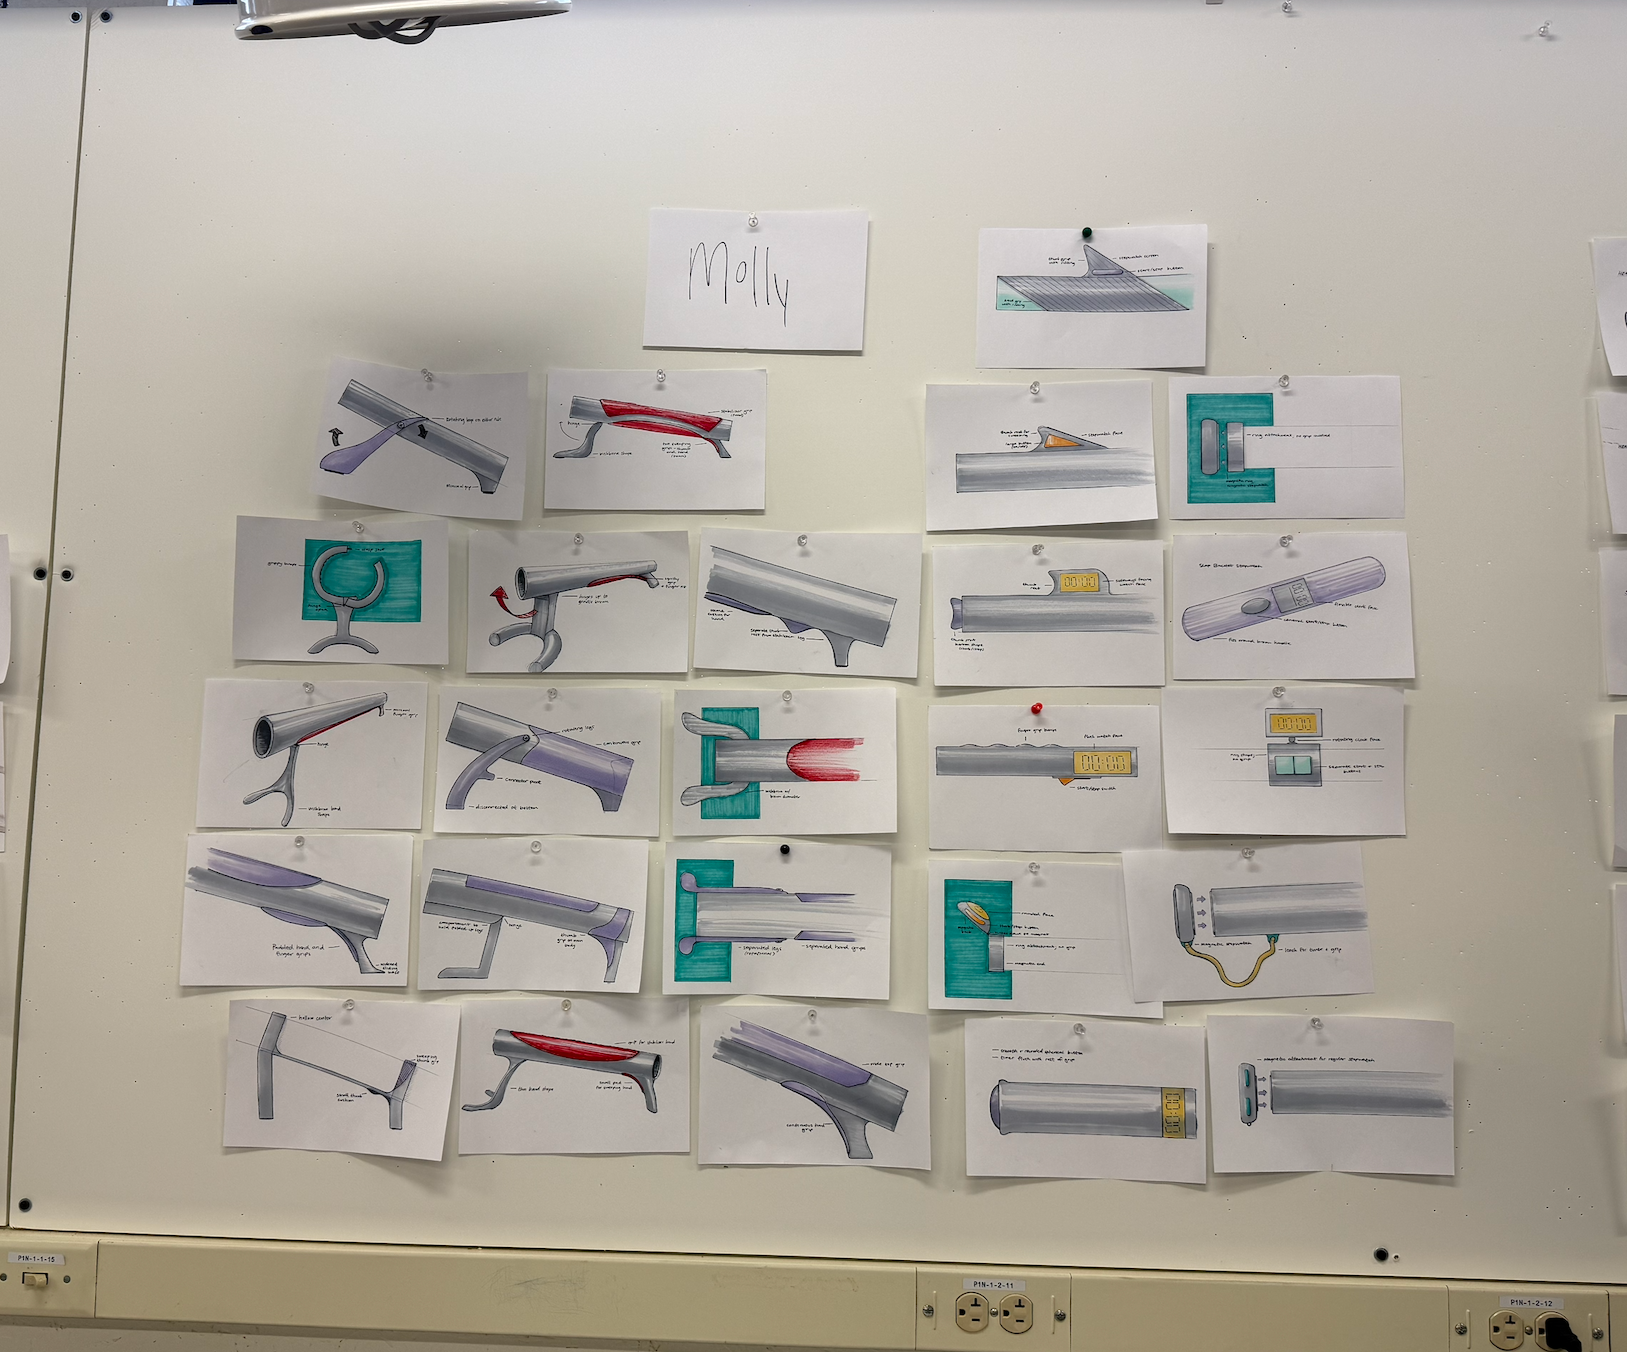
With pen and marker, I sketched dozens of ideas and presented them to my classmates and curling teammates. From there, I was able to narrow it down to some of the most popular forms and features for prototyping.
form model families
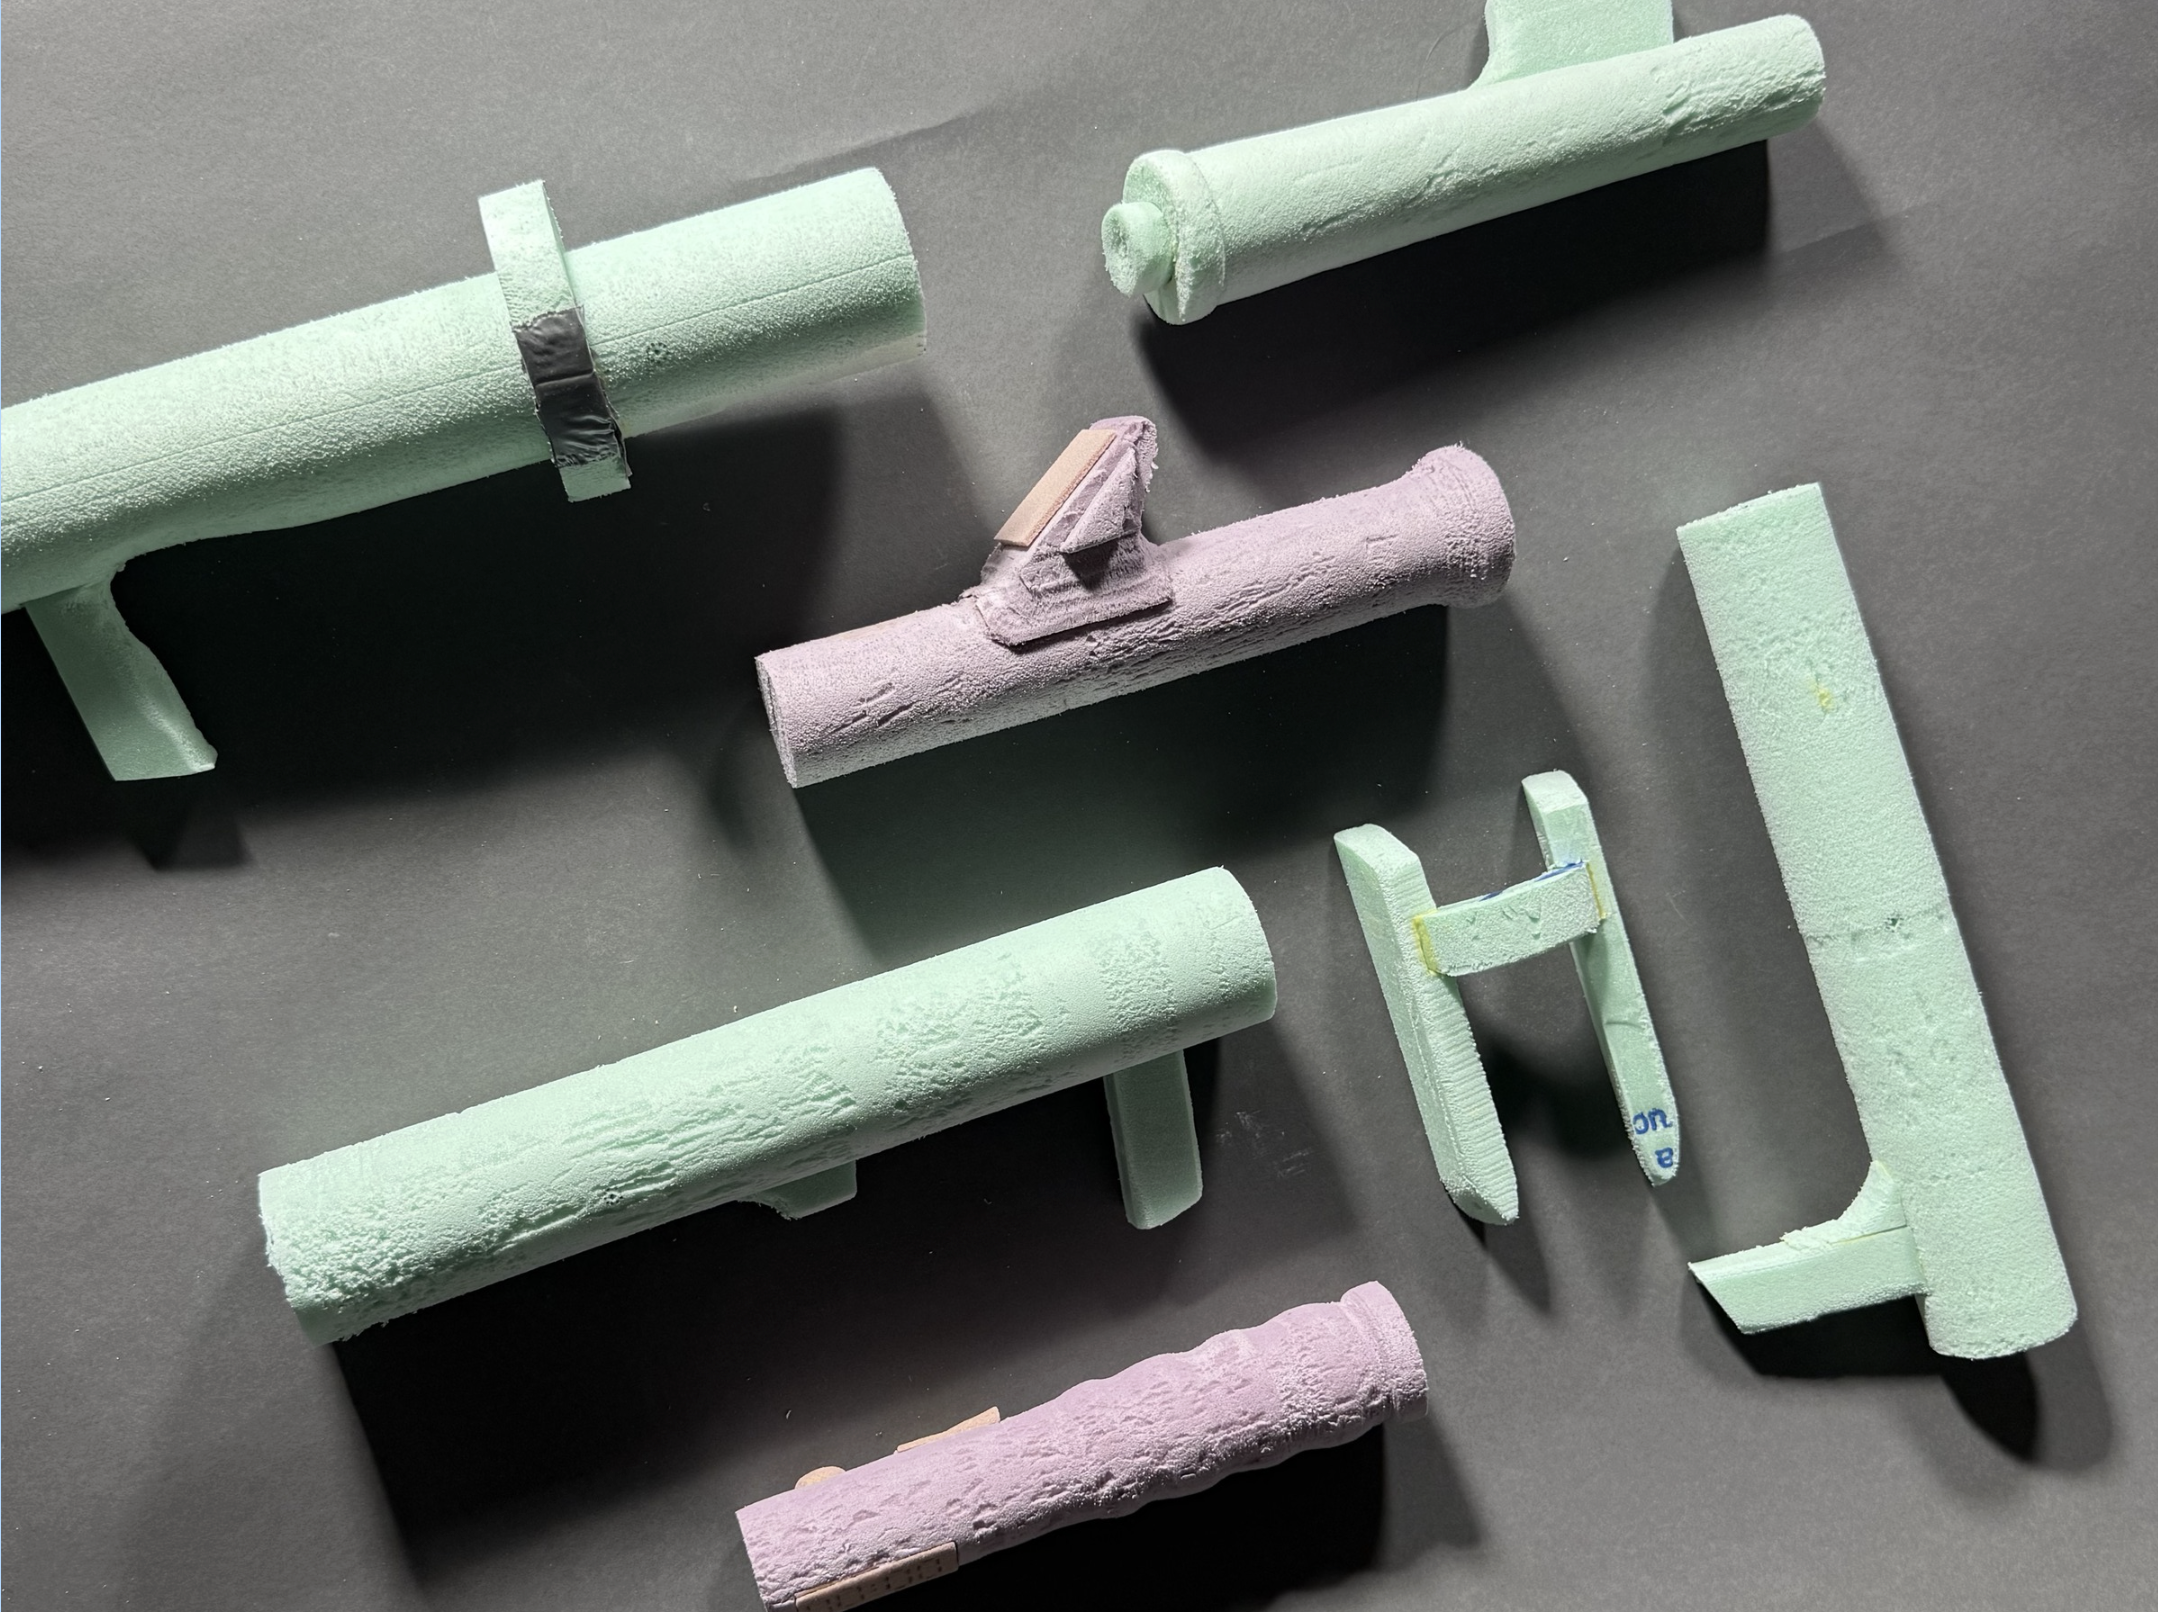
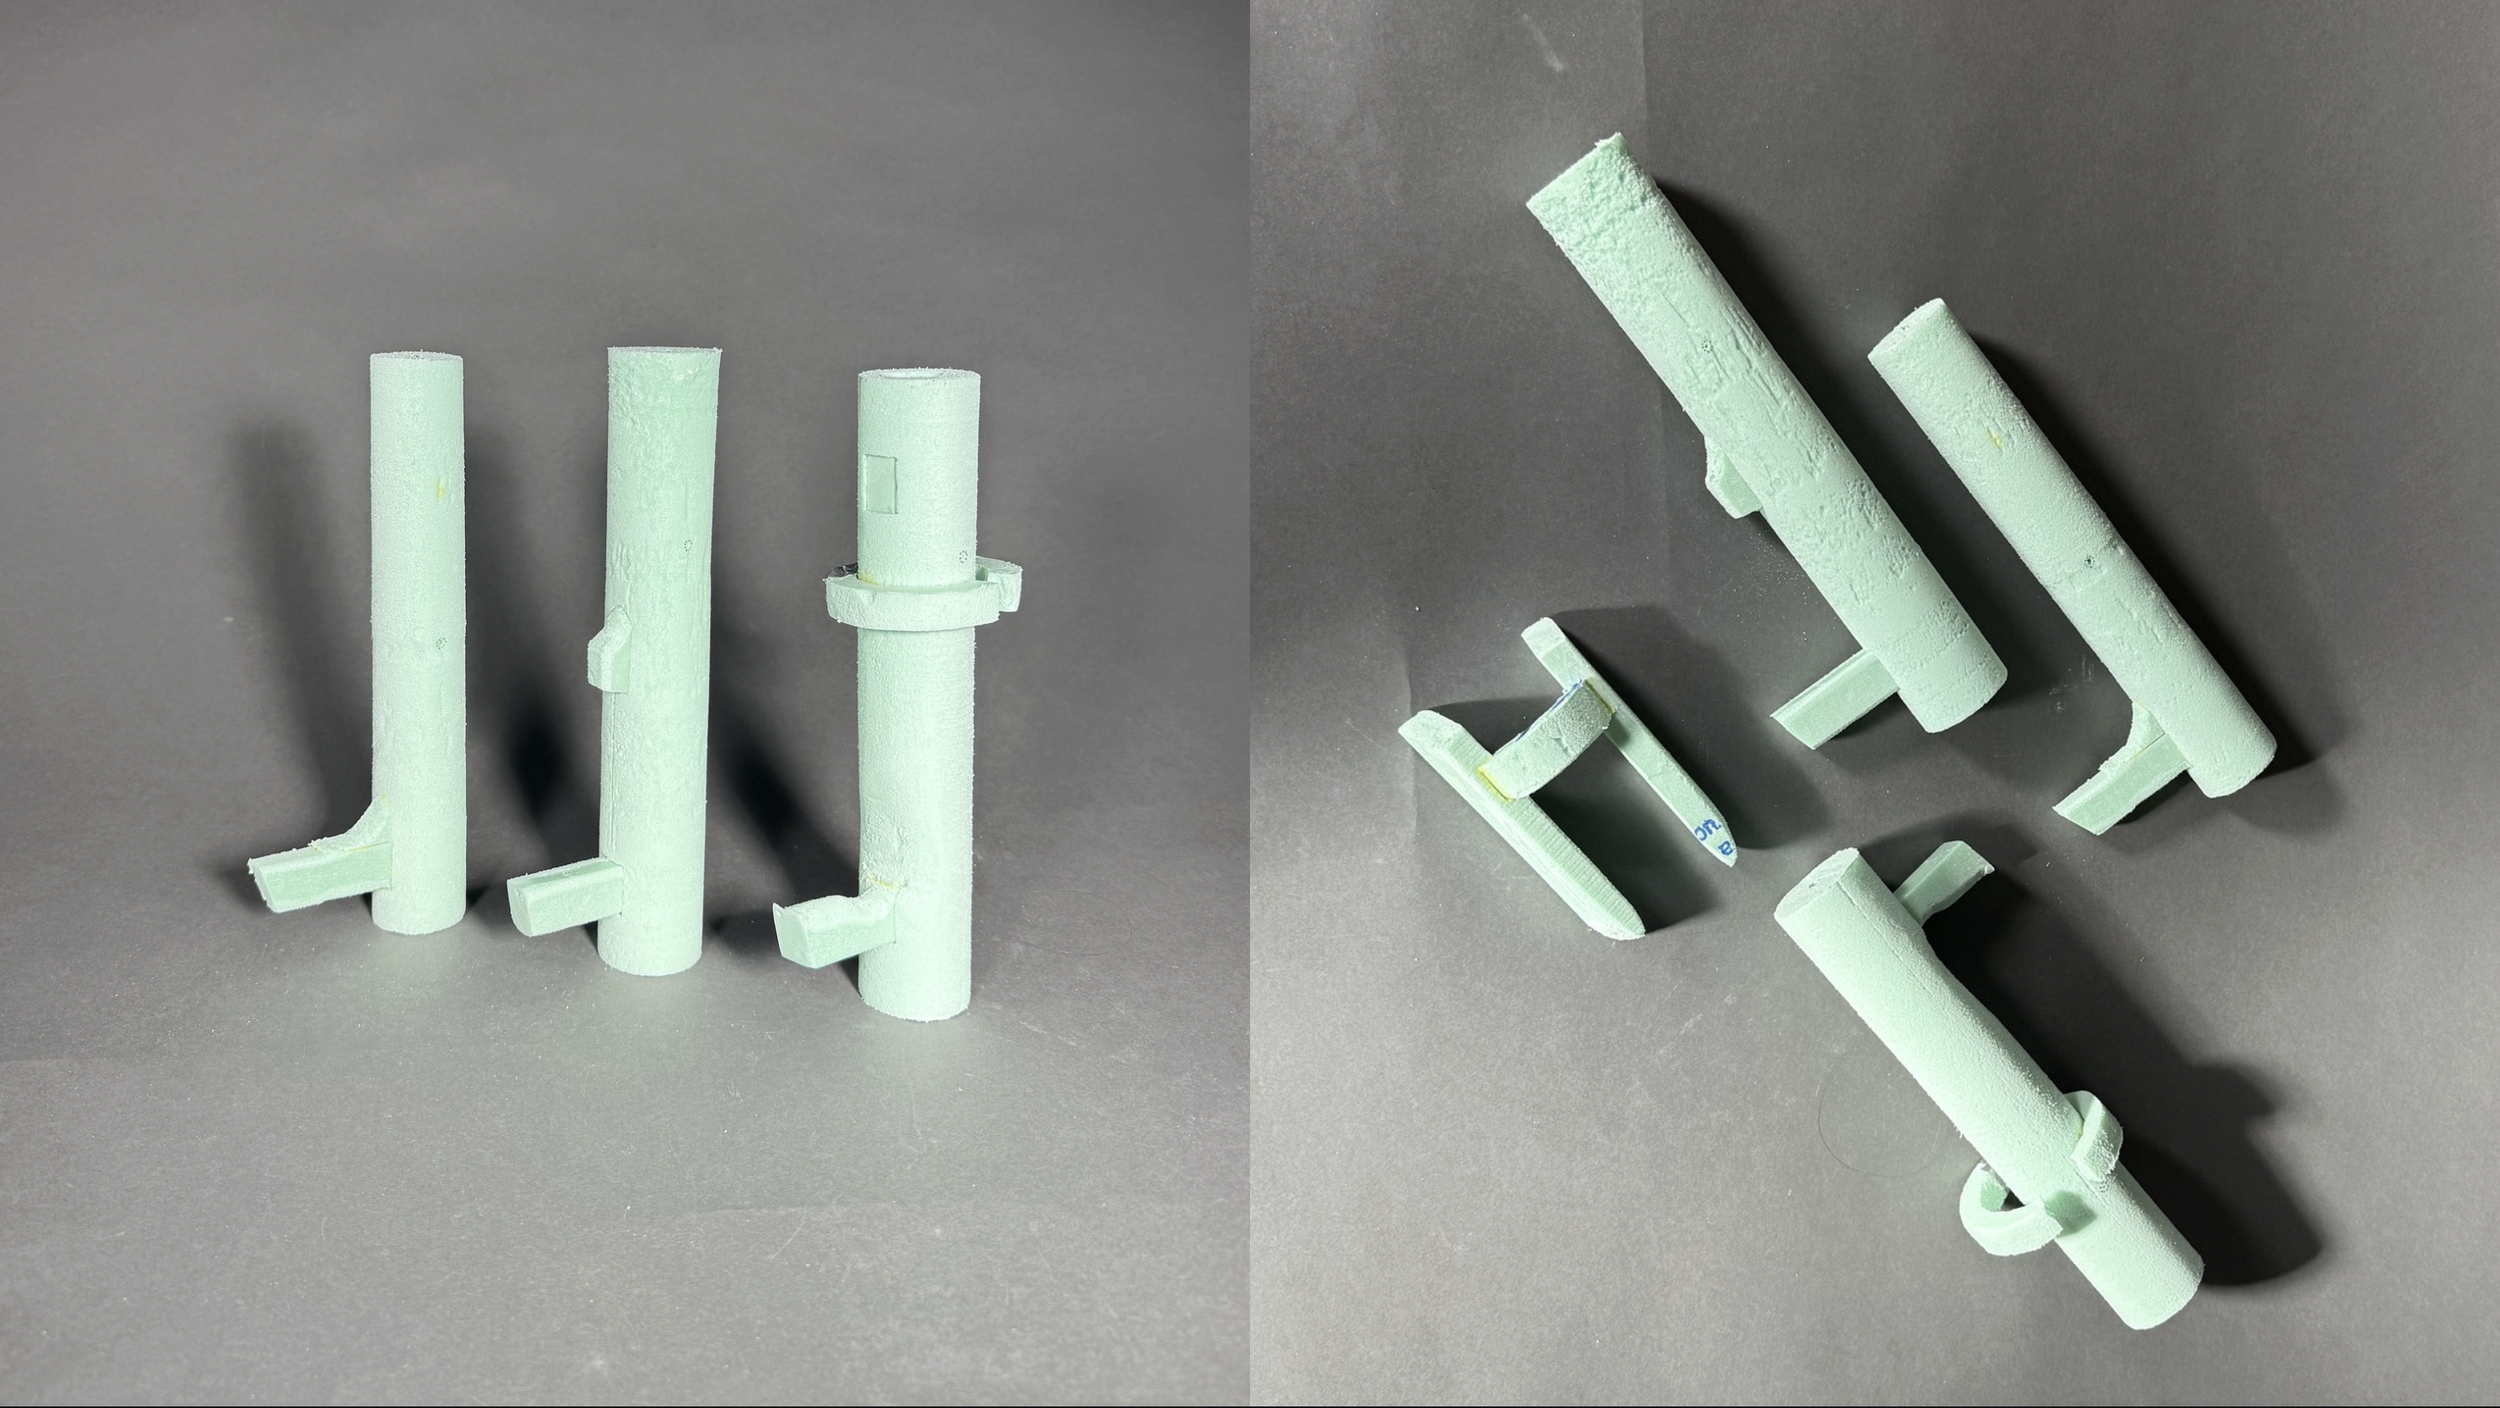
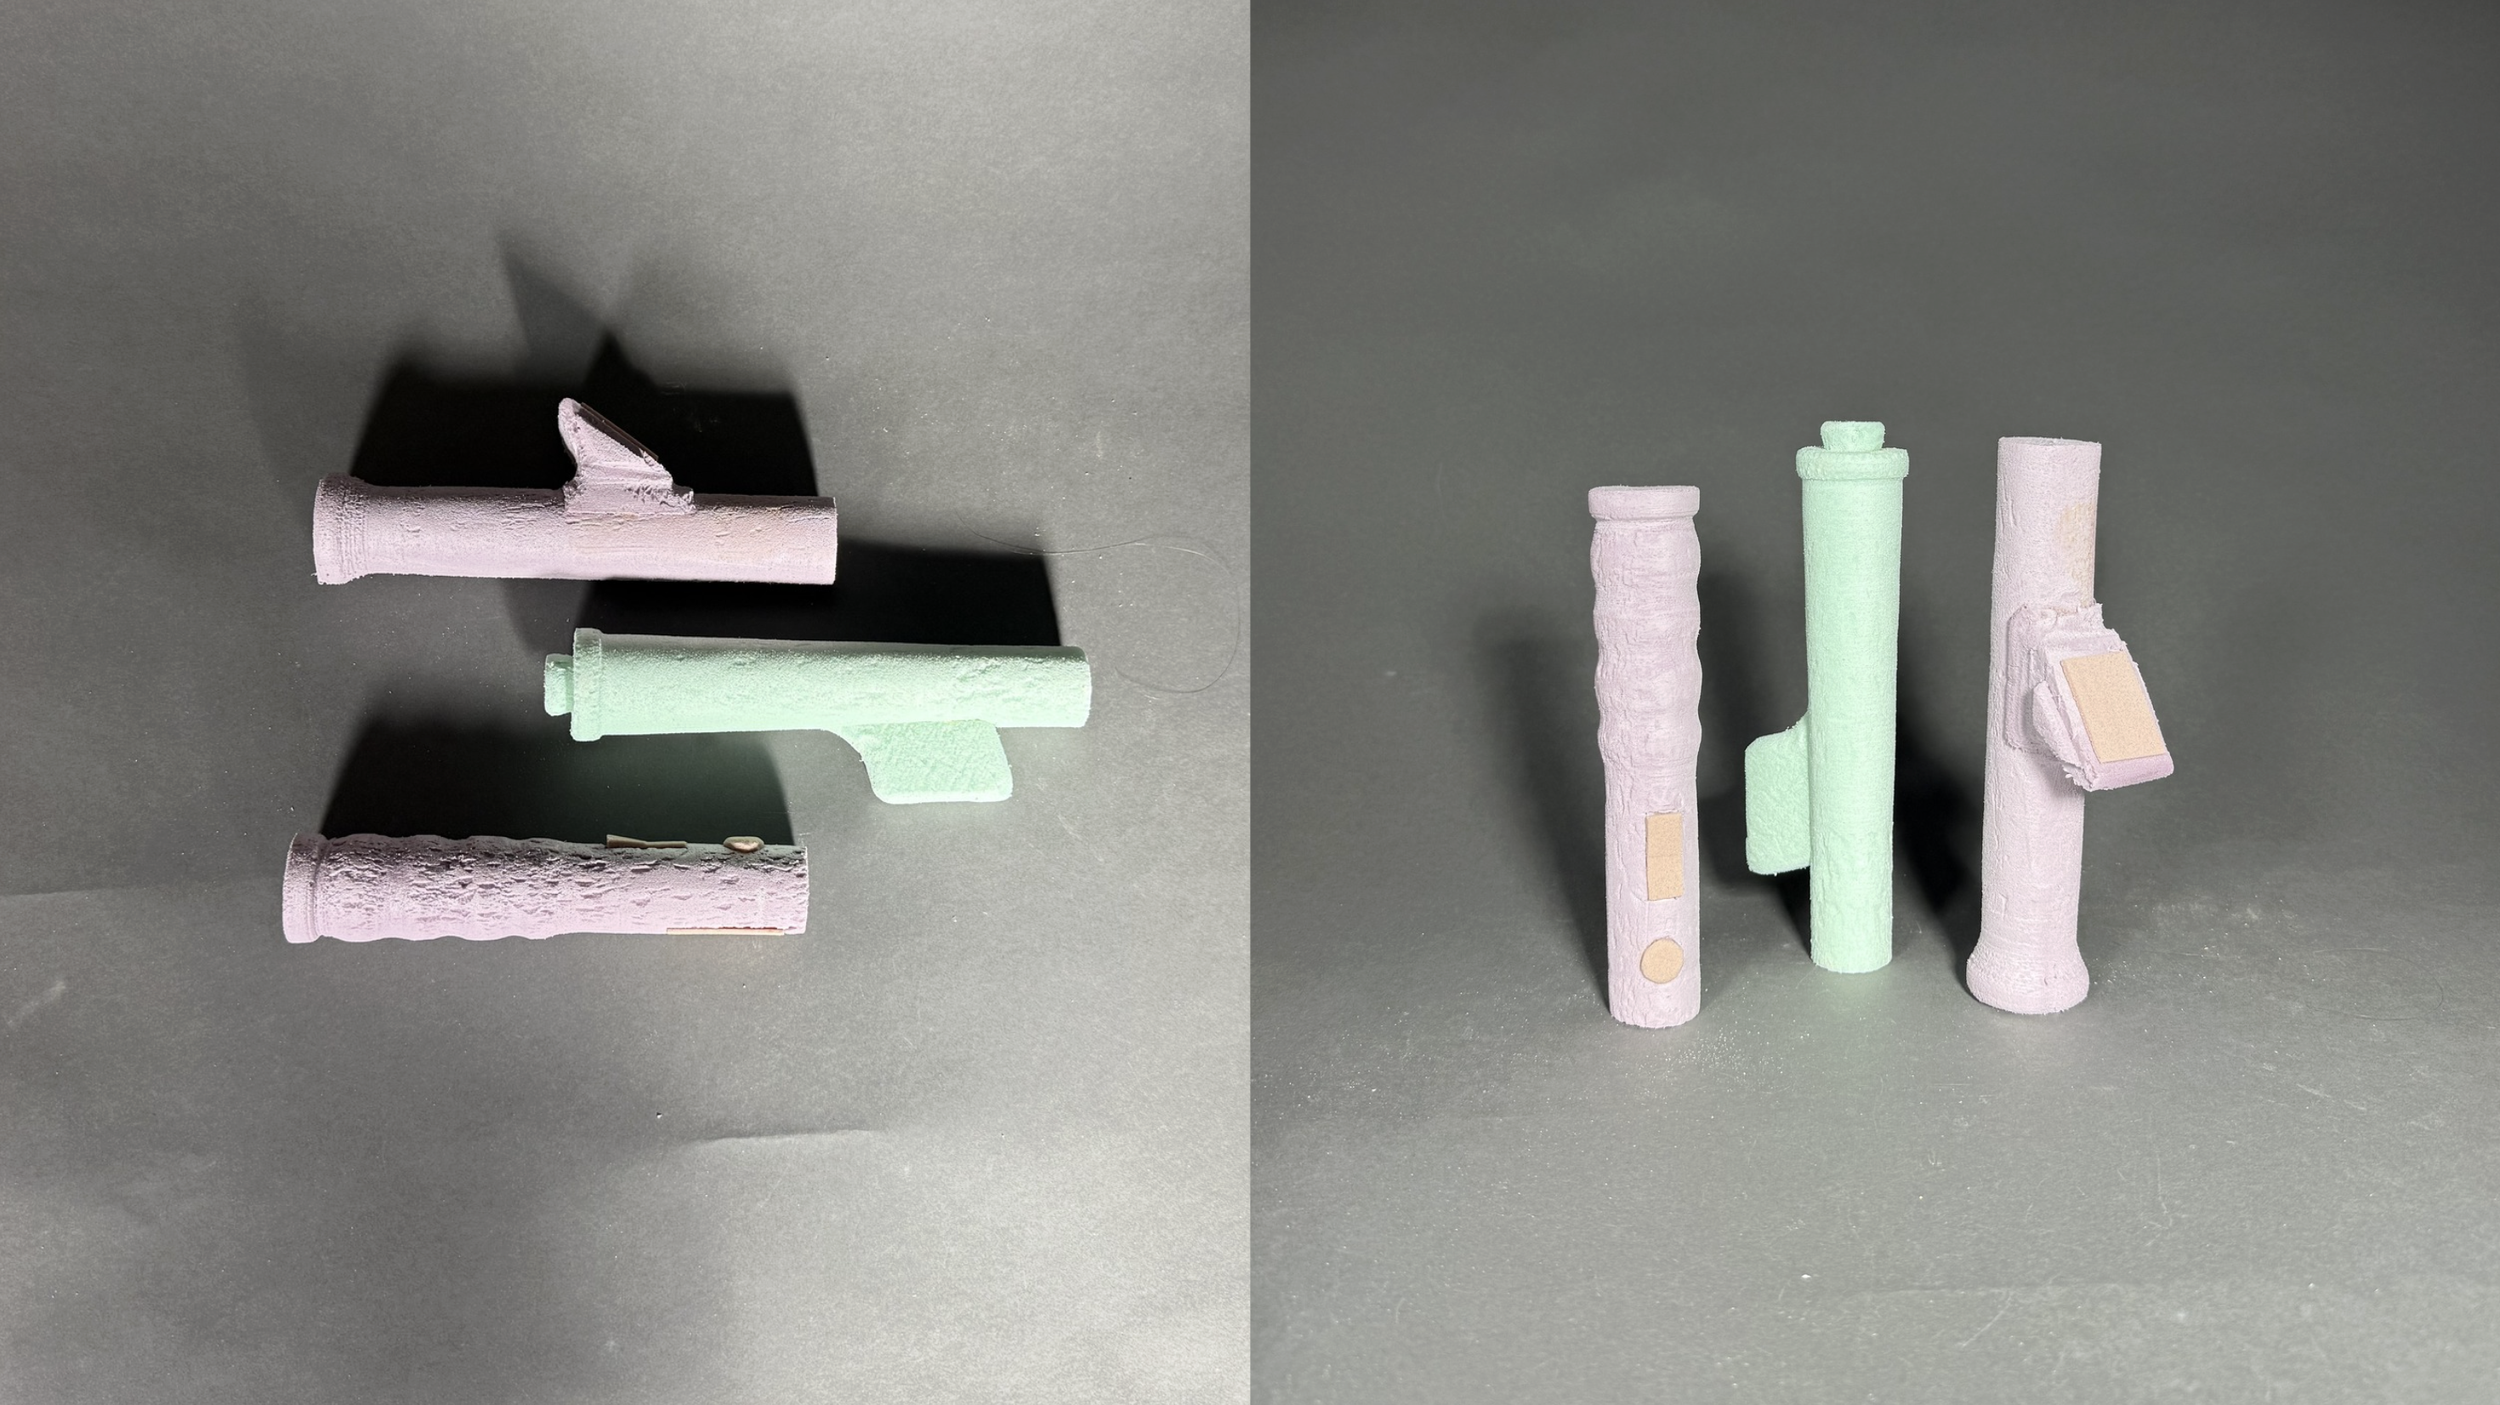
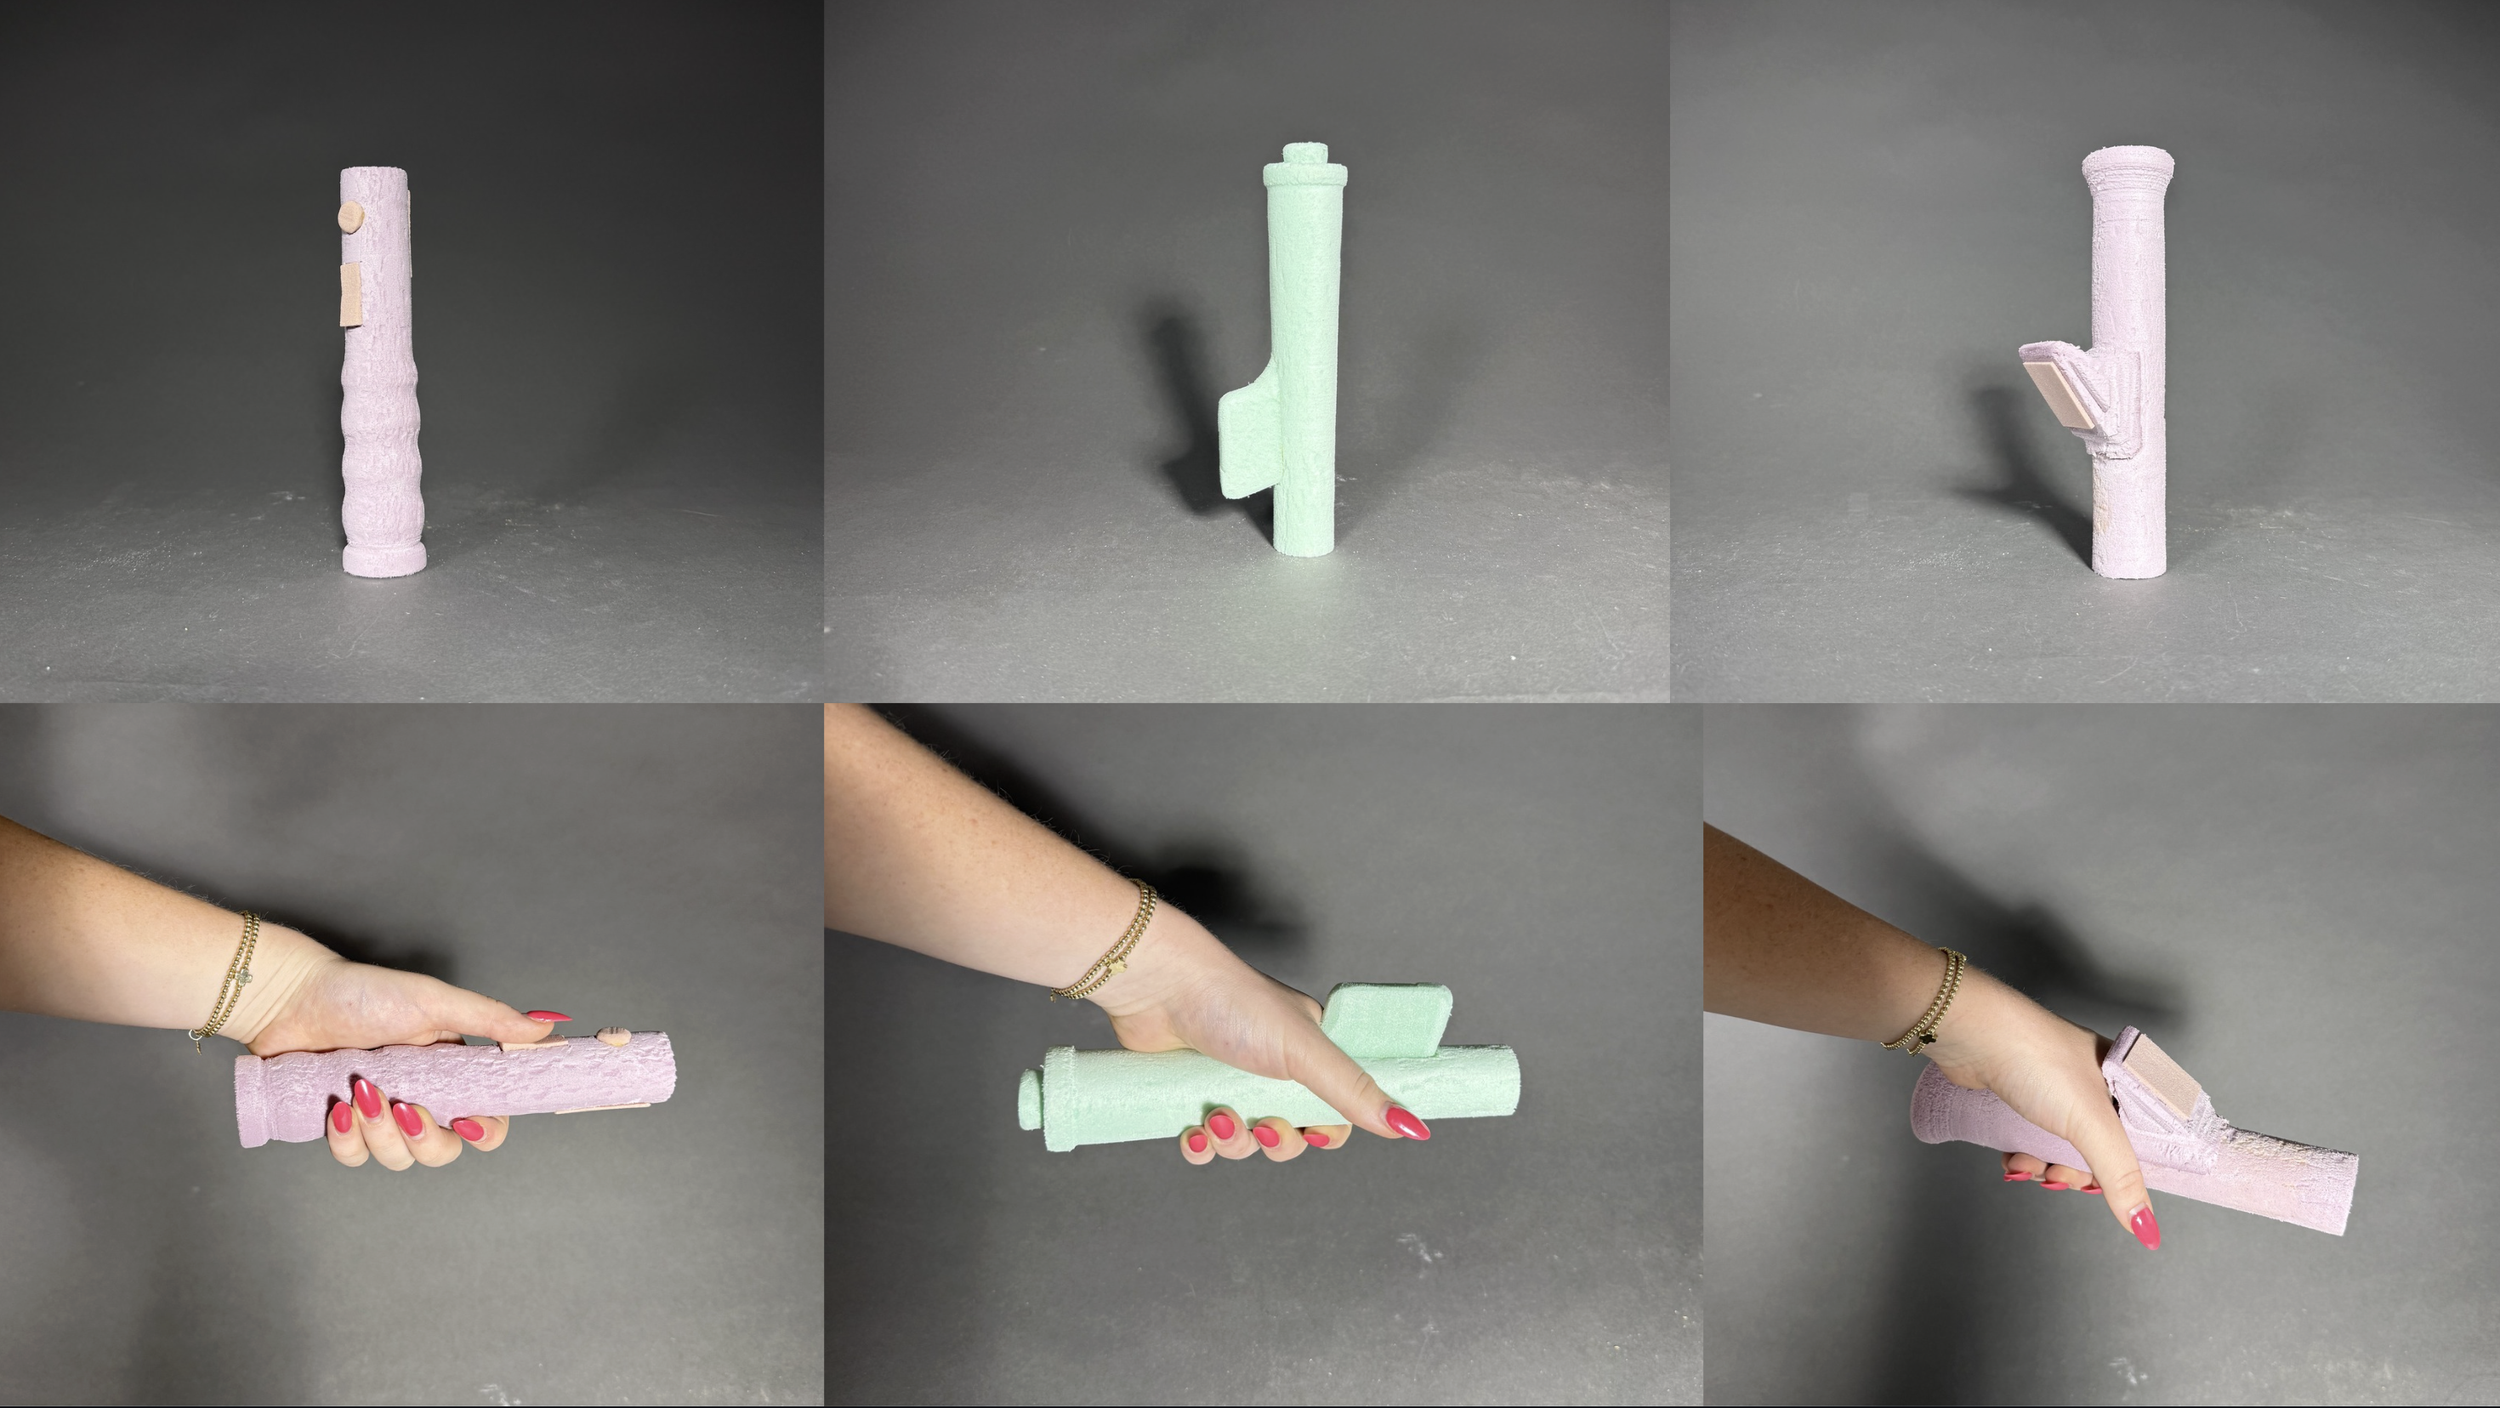
Using this feedback, I made three potential forms of each product, incorporating the most popular features. From here, I was able to receive more feedback by having my classmates and teammates hold and use each product
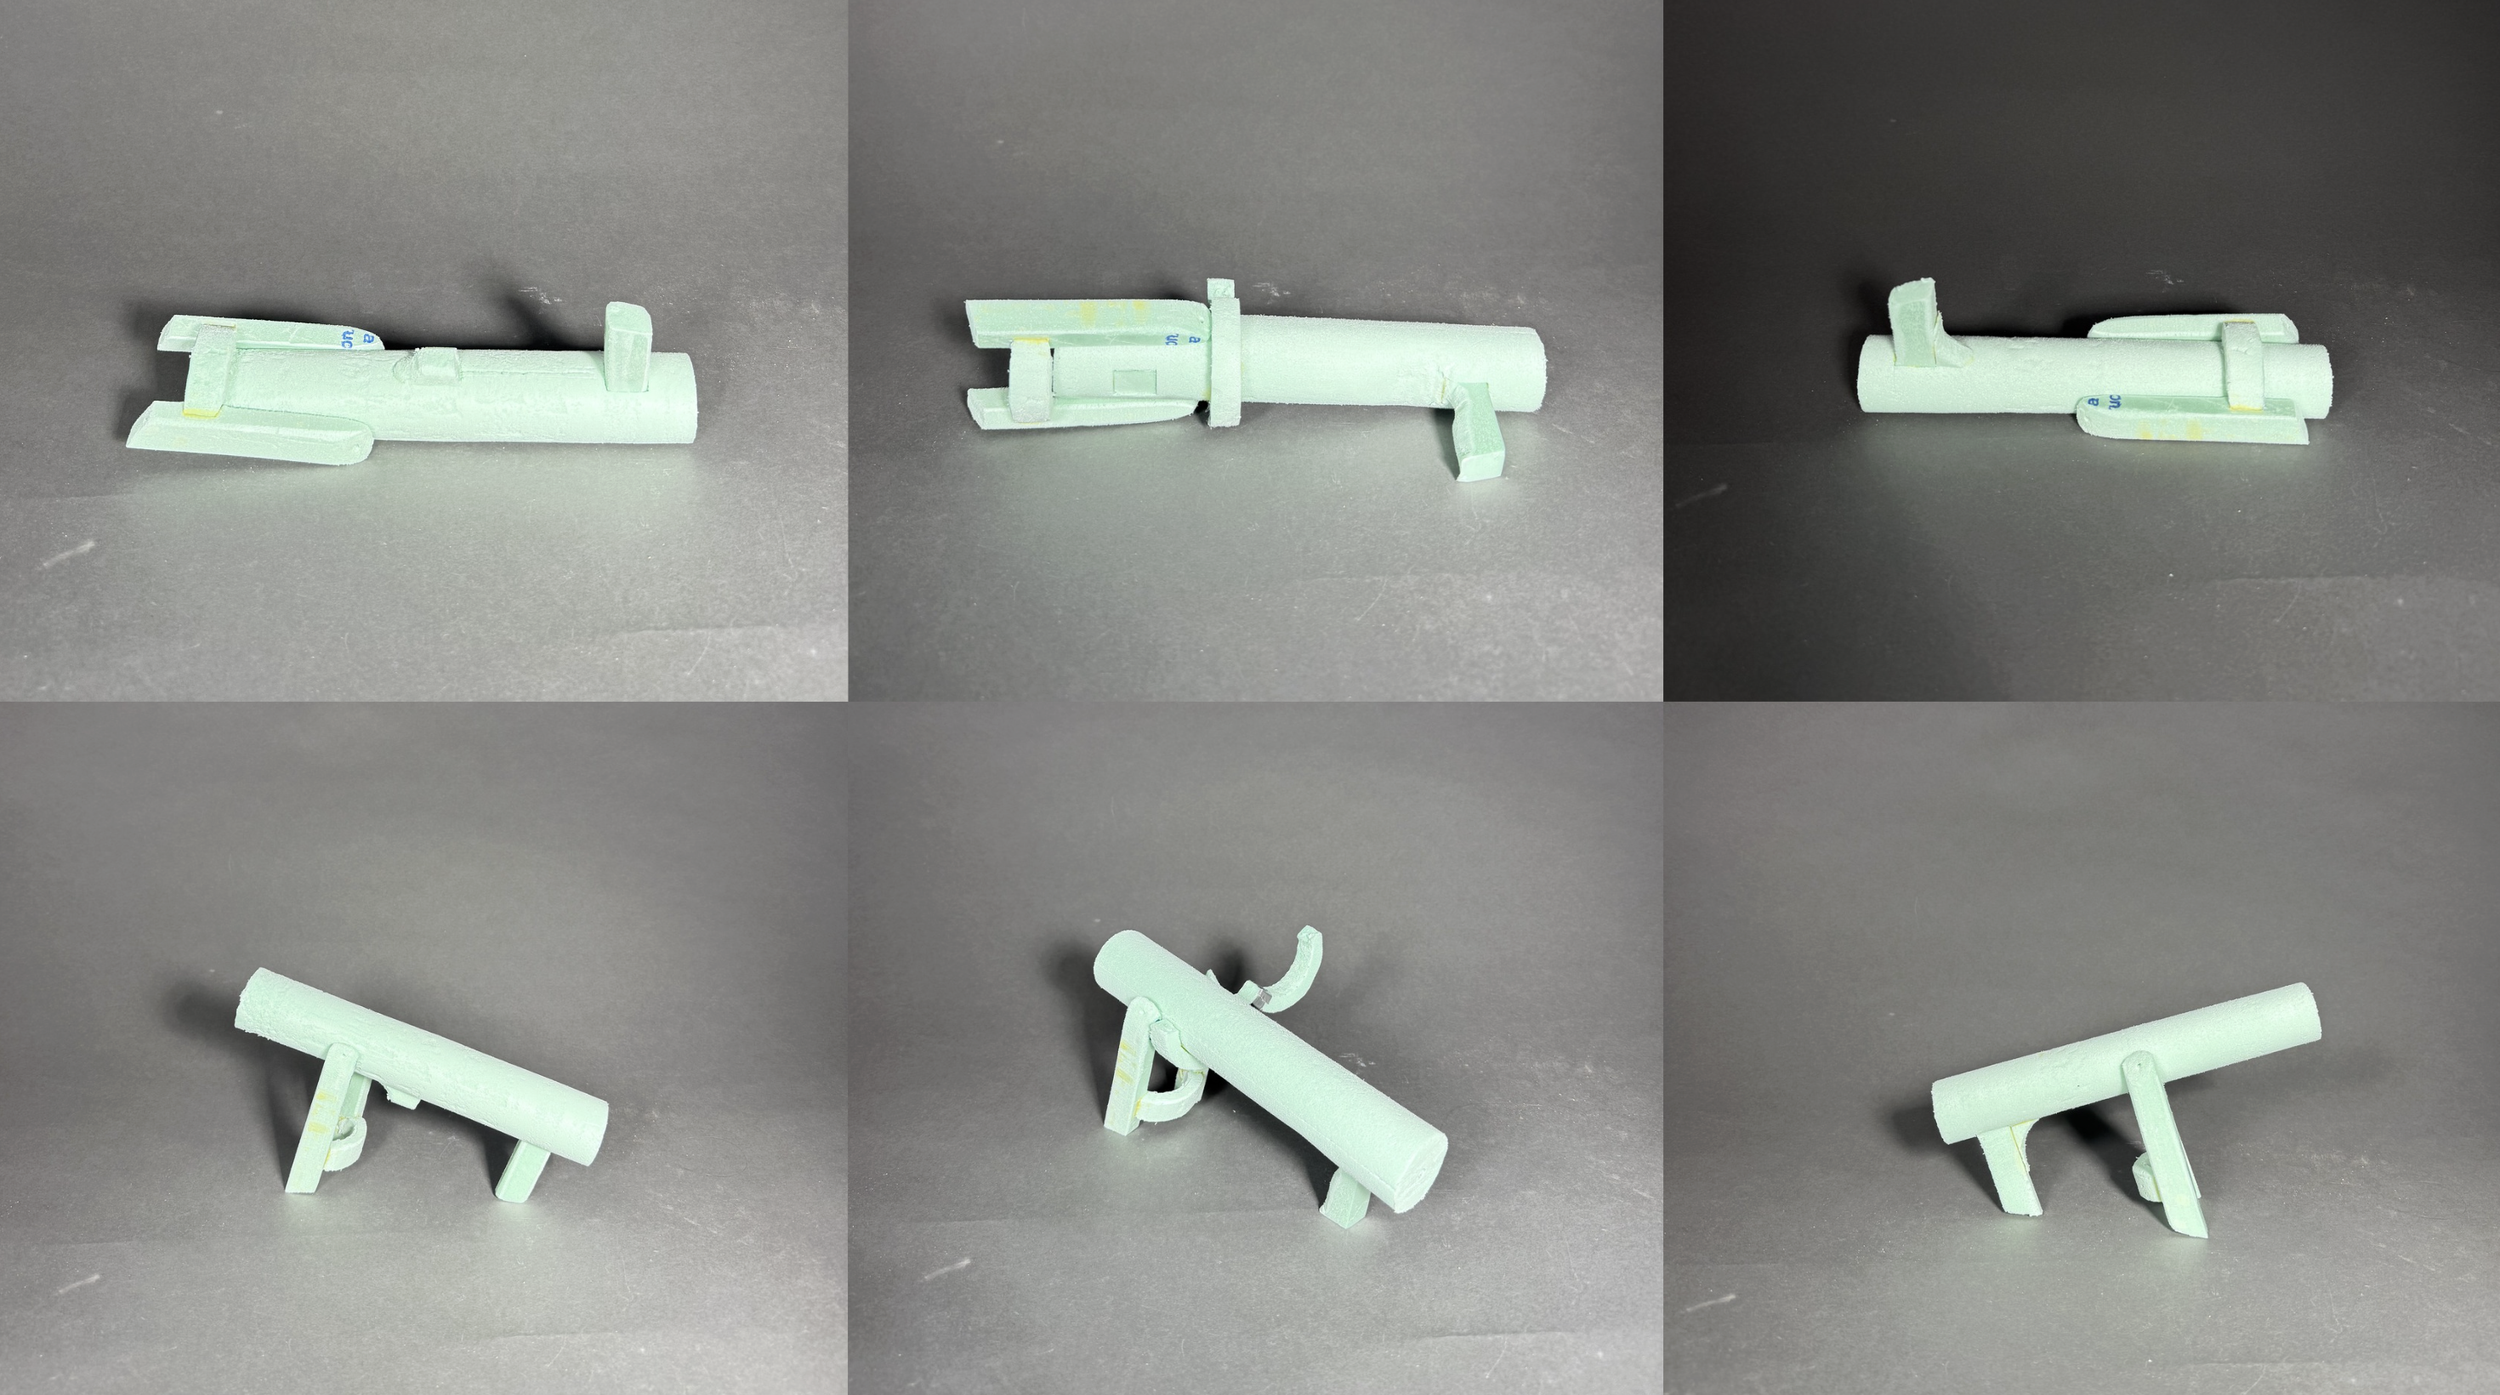
final product + packaging
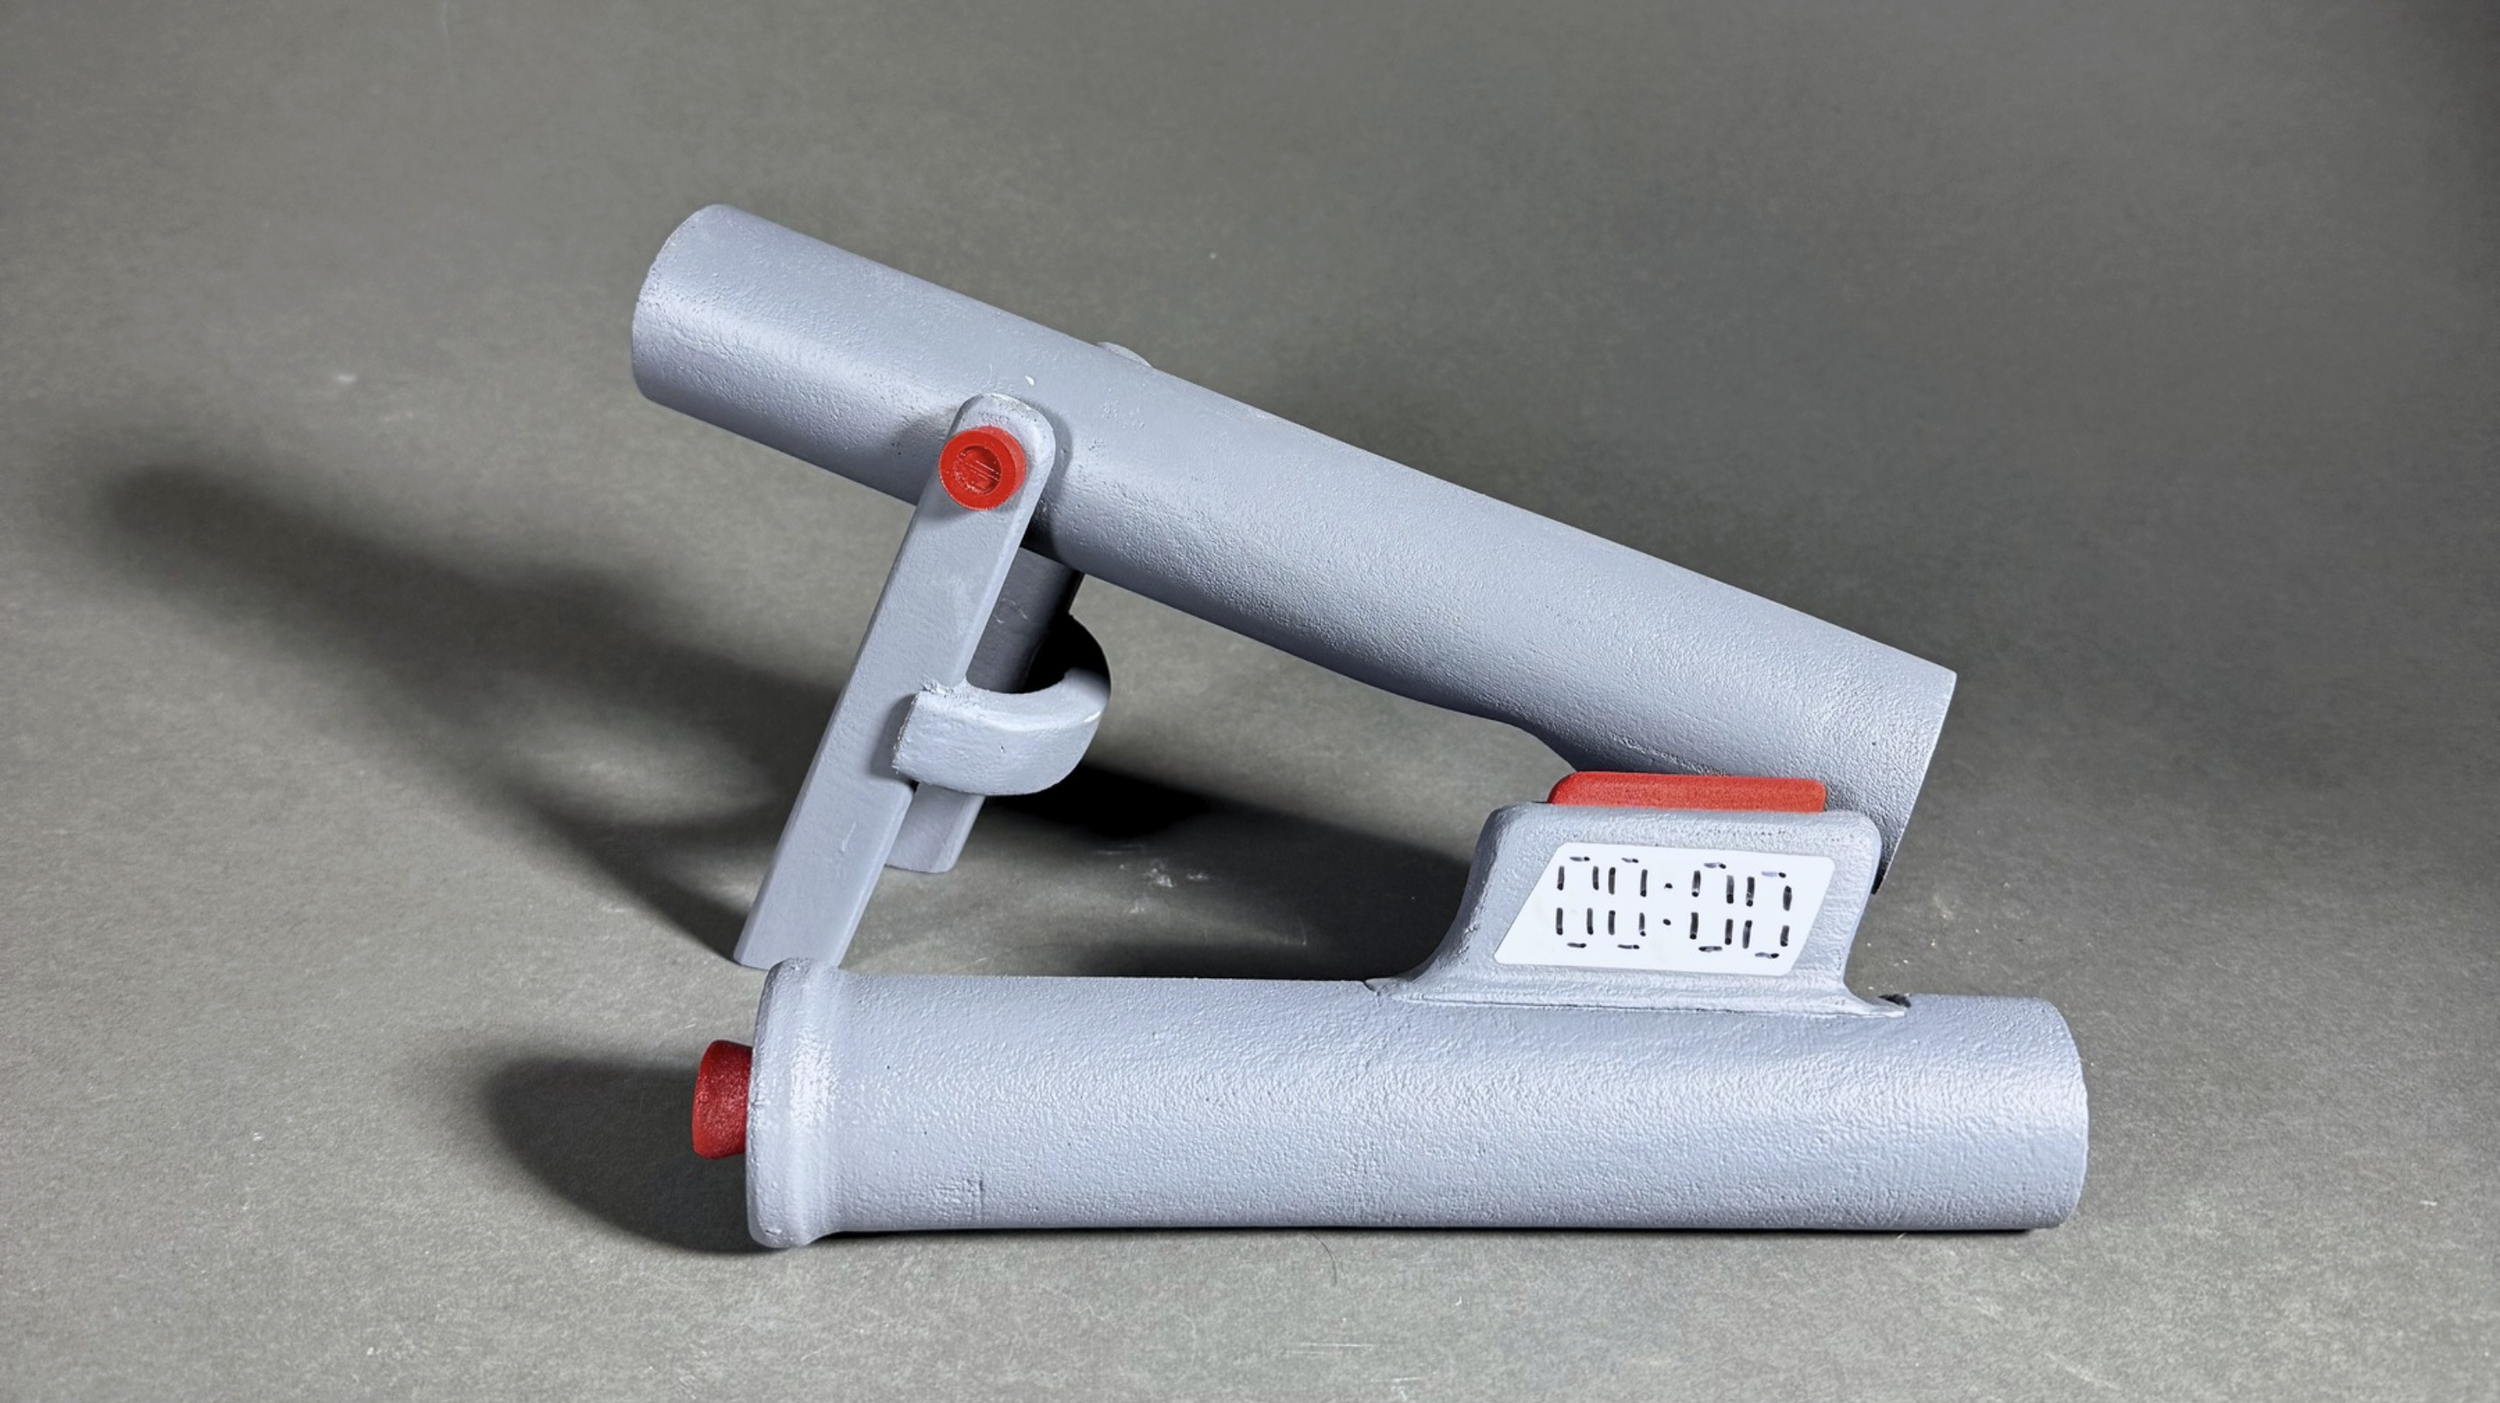
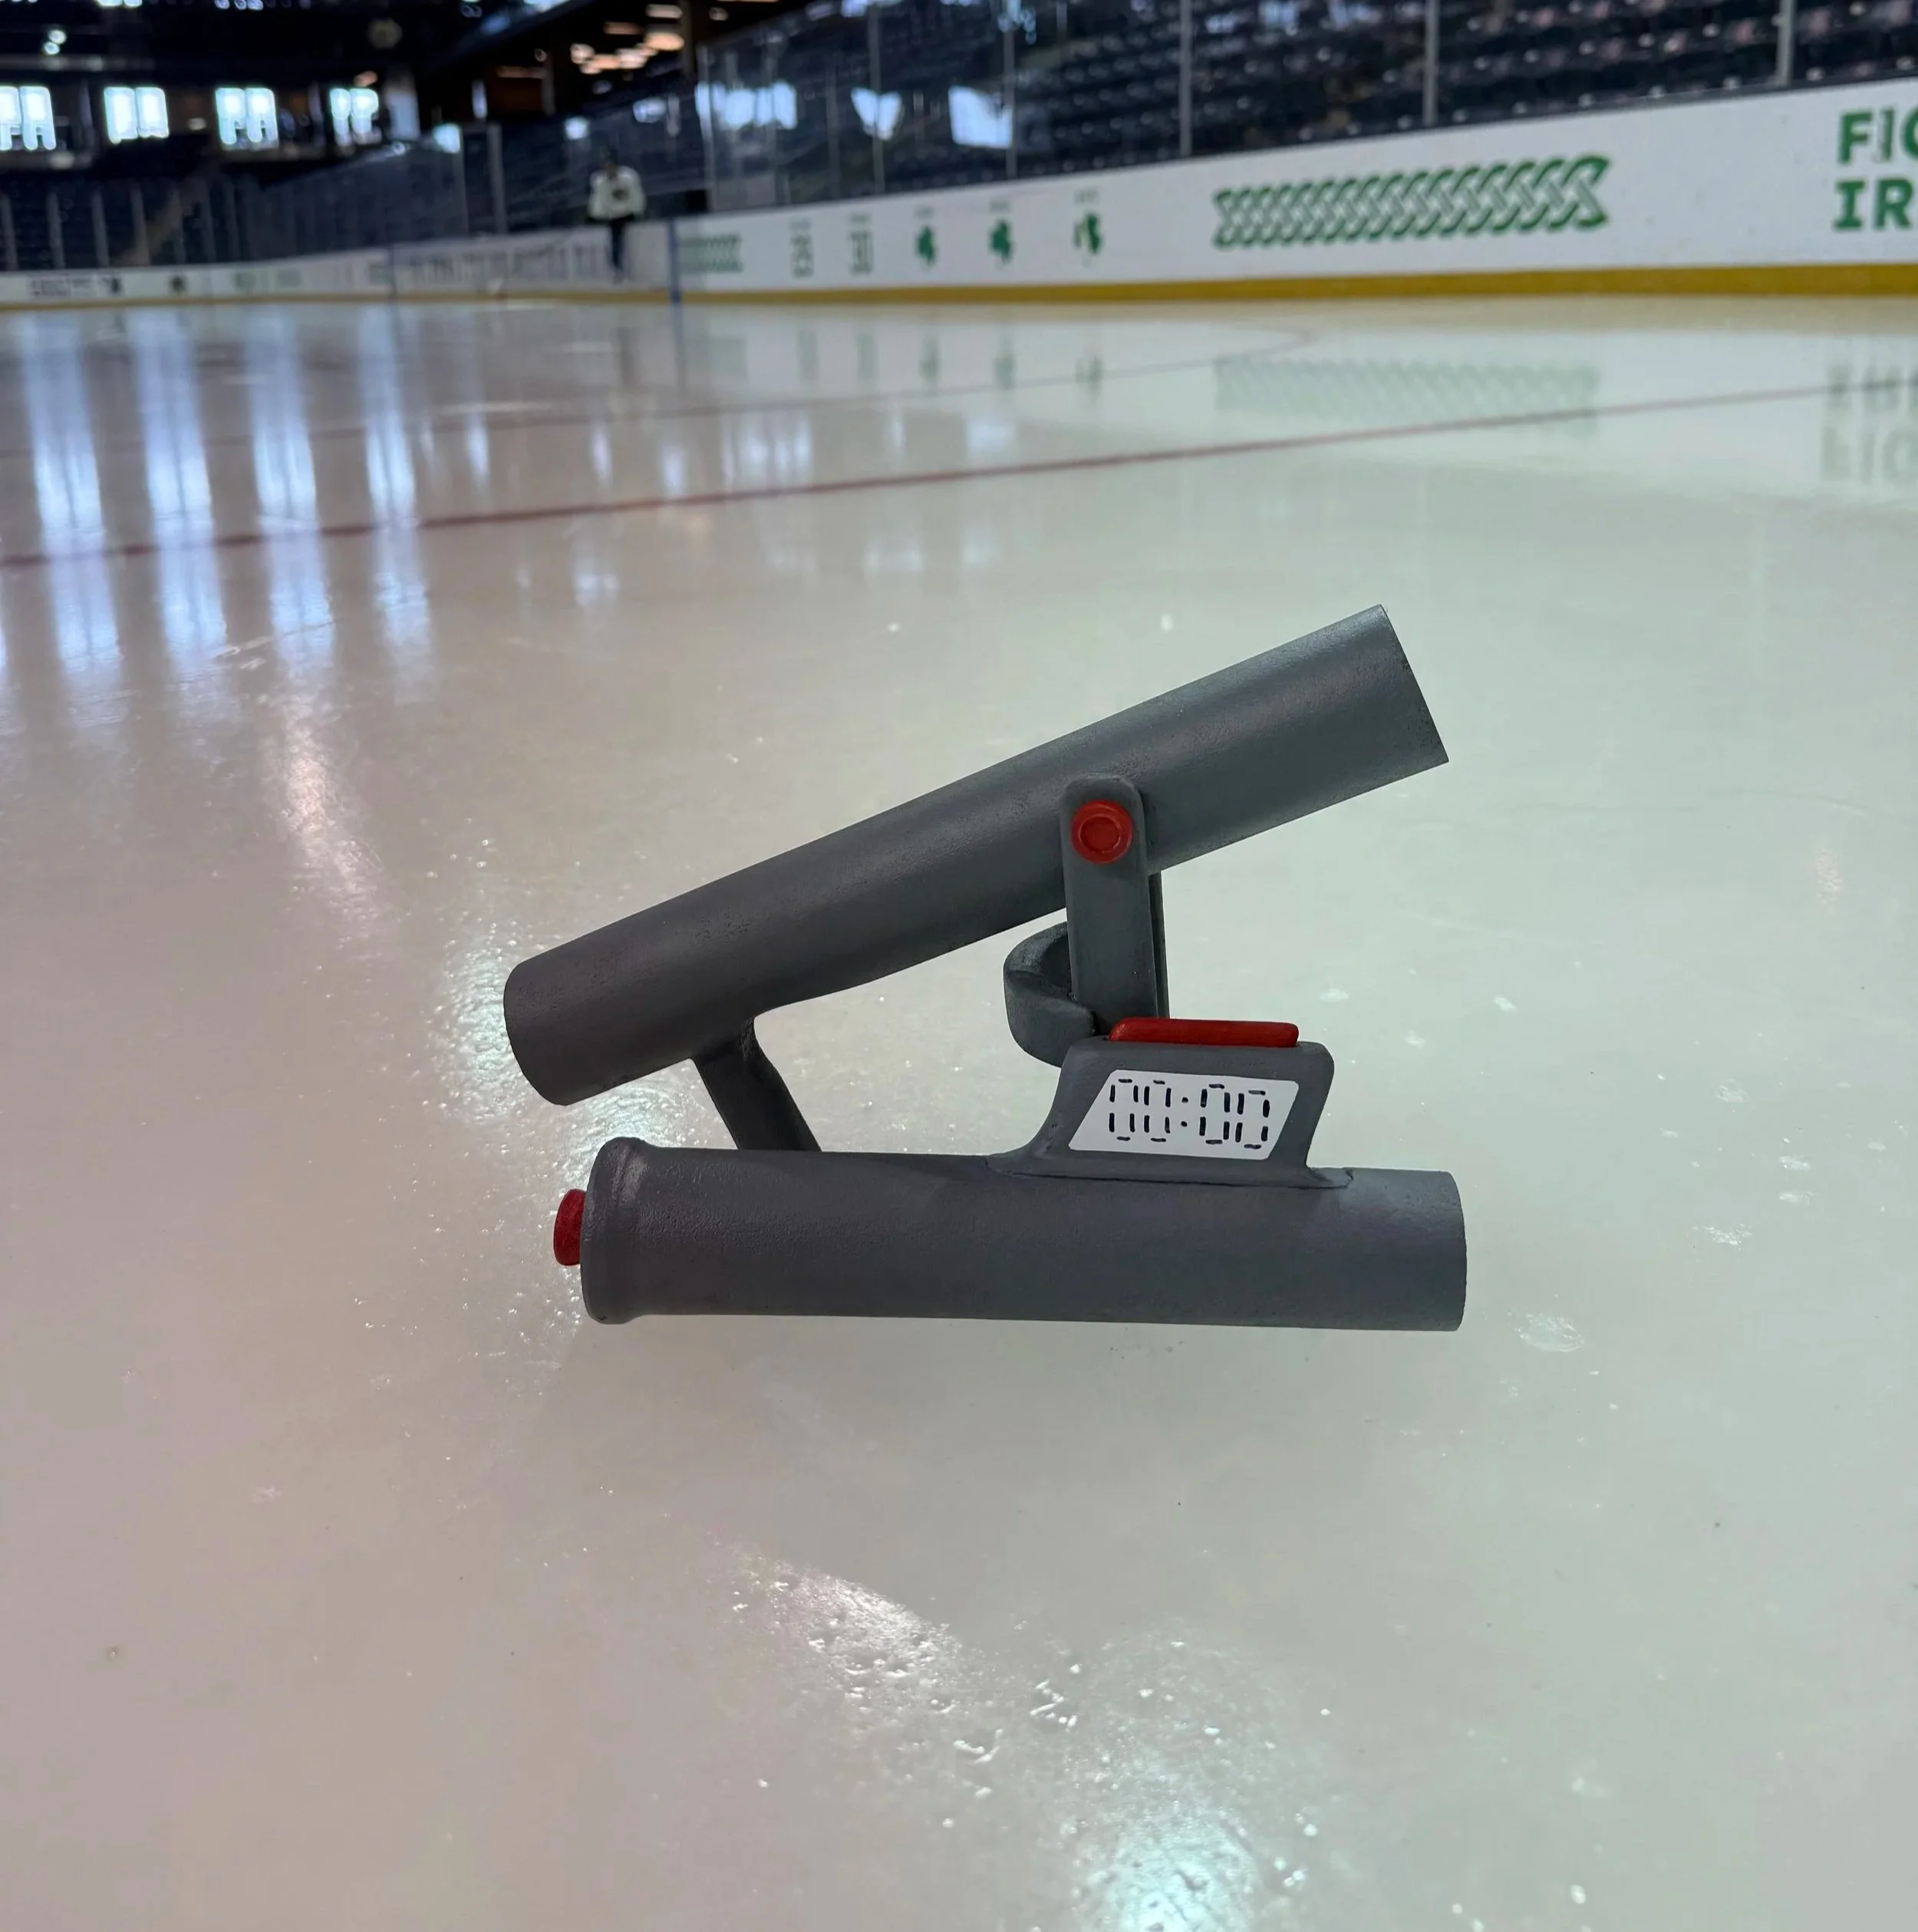
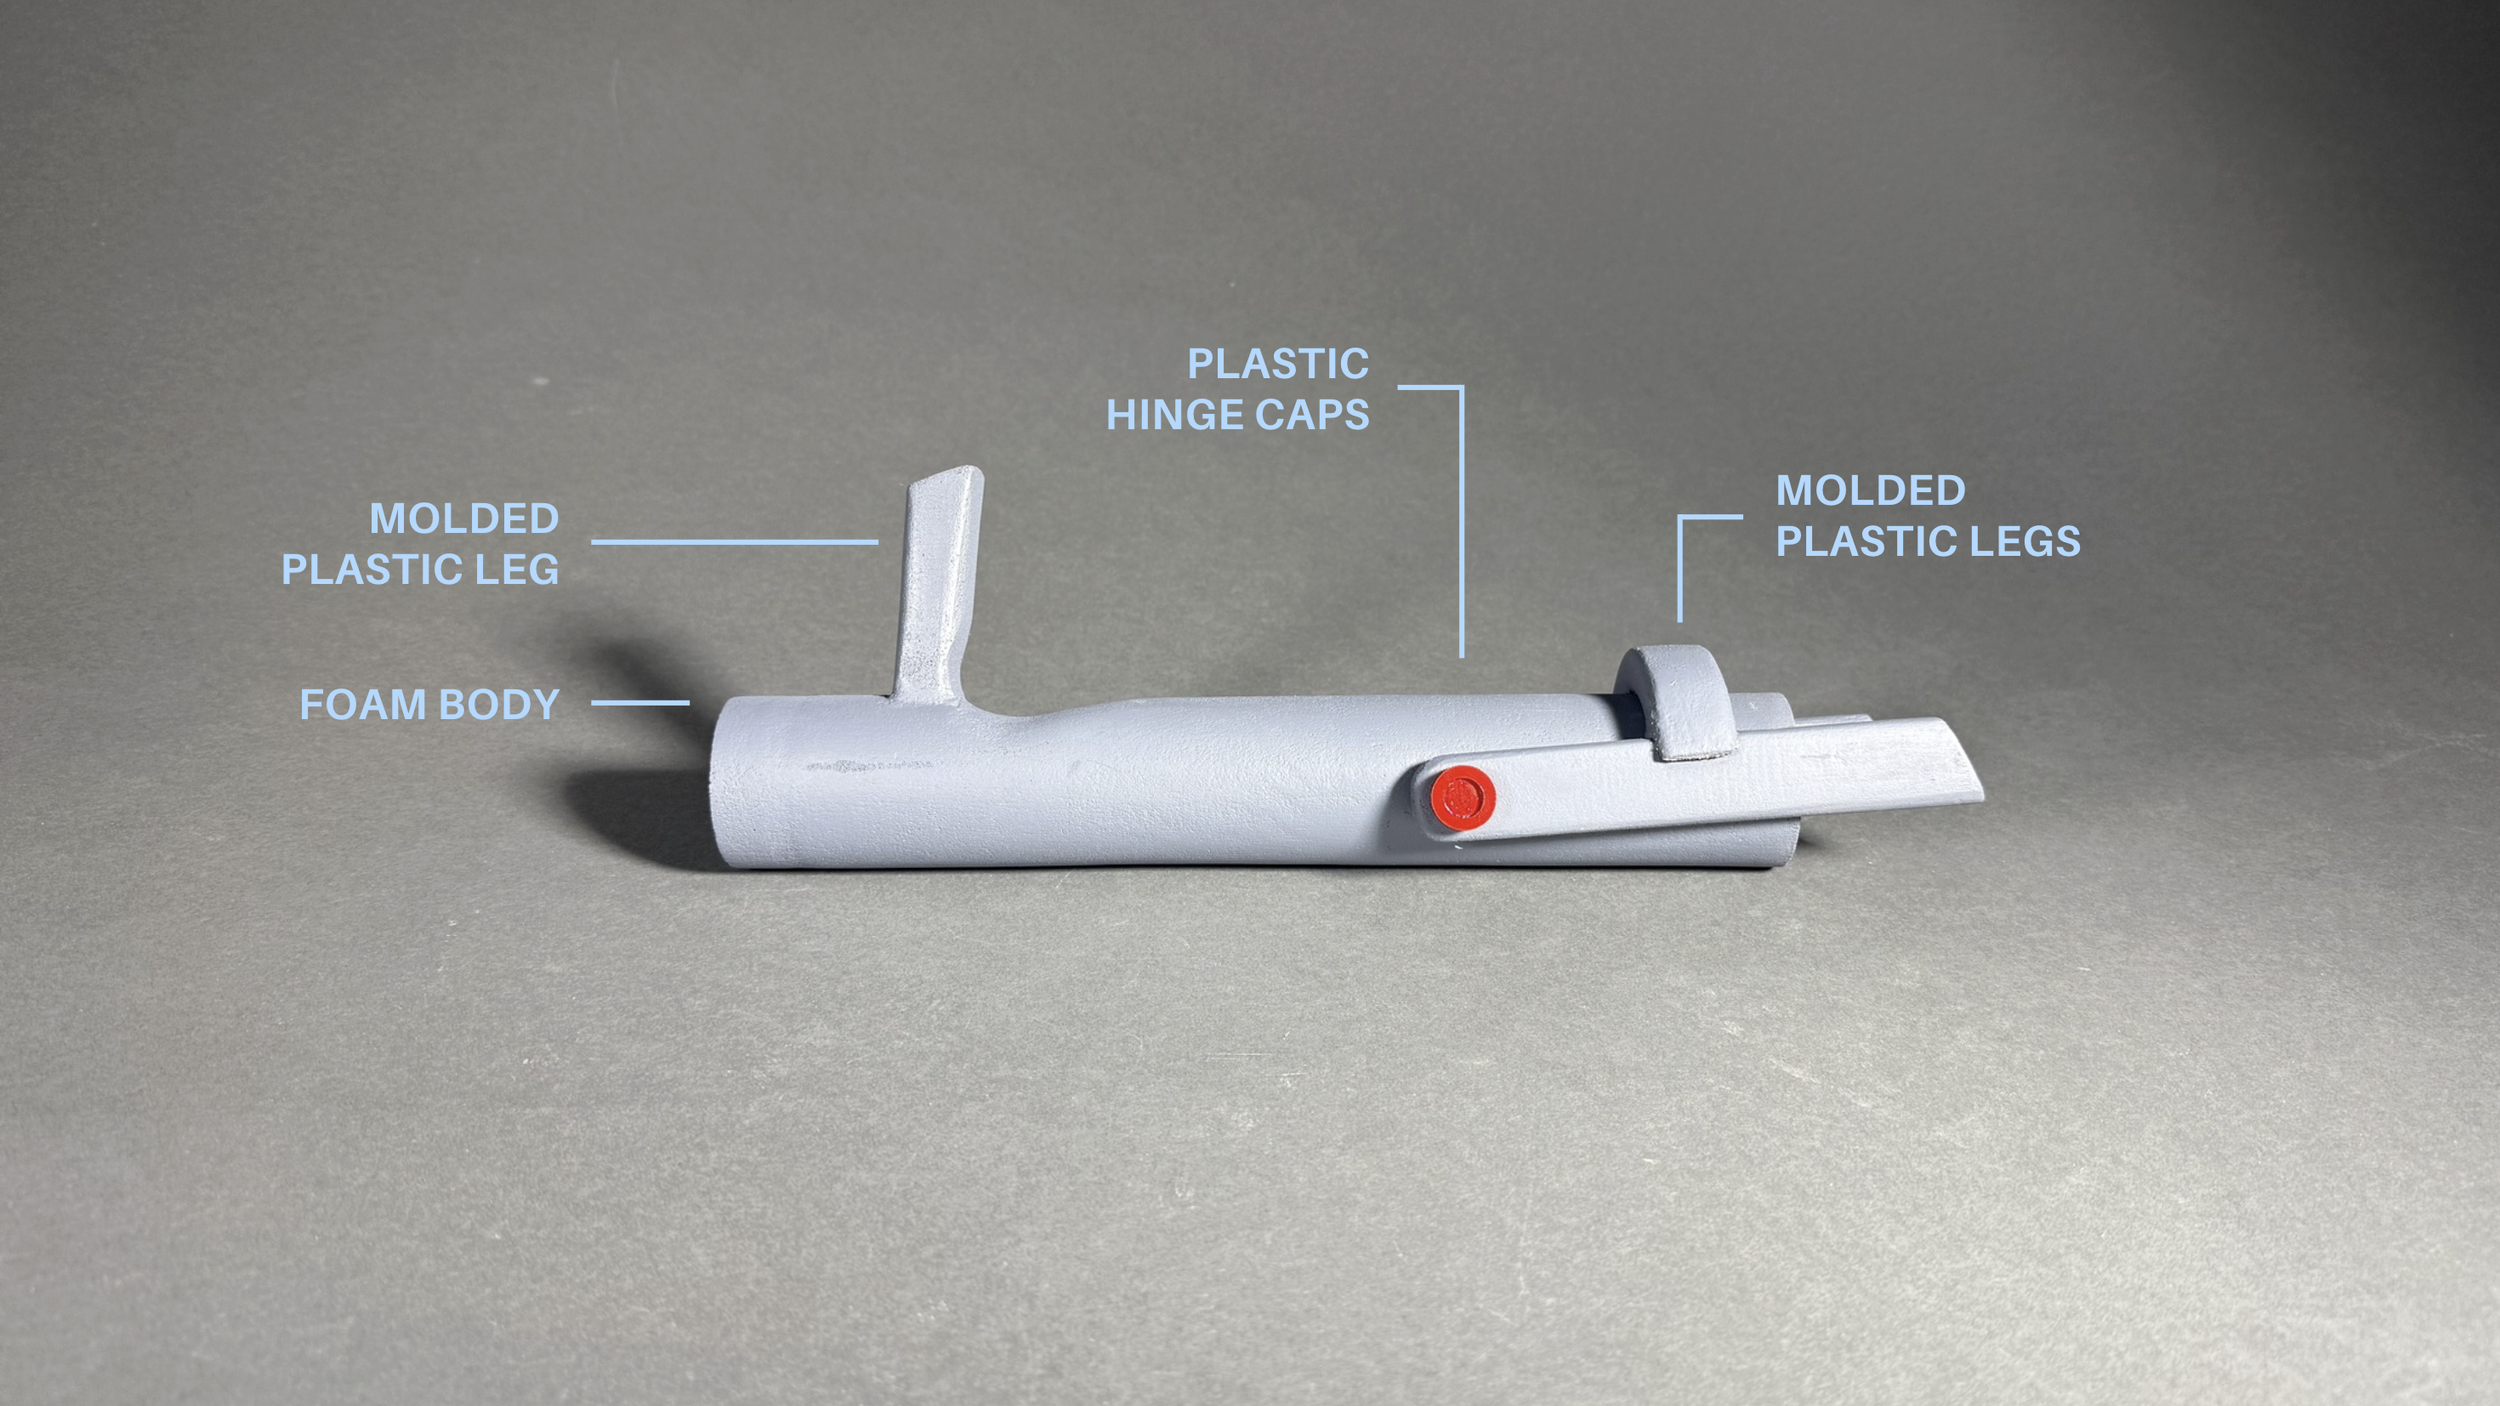
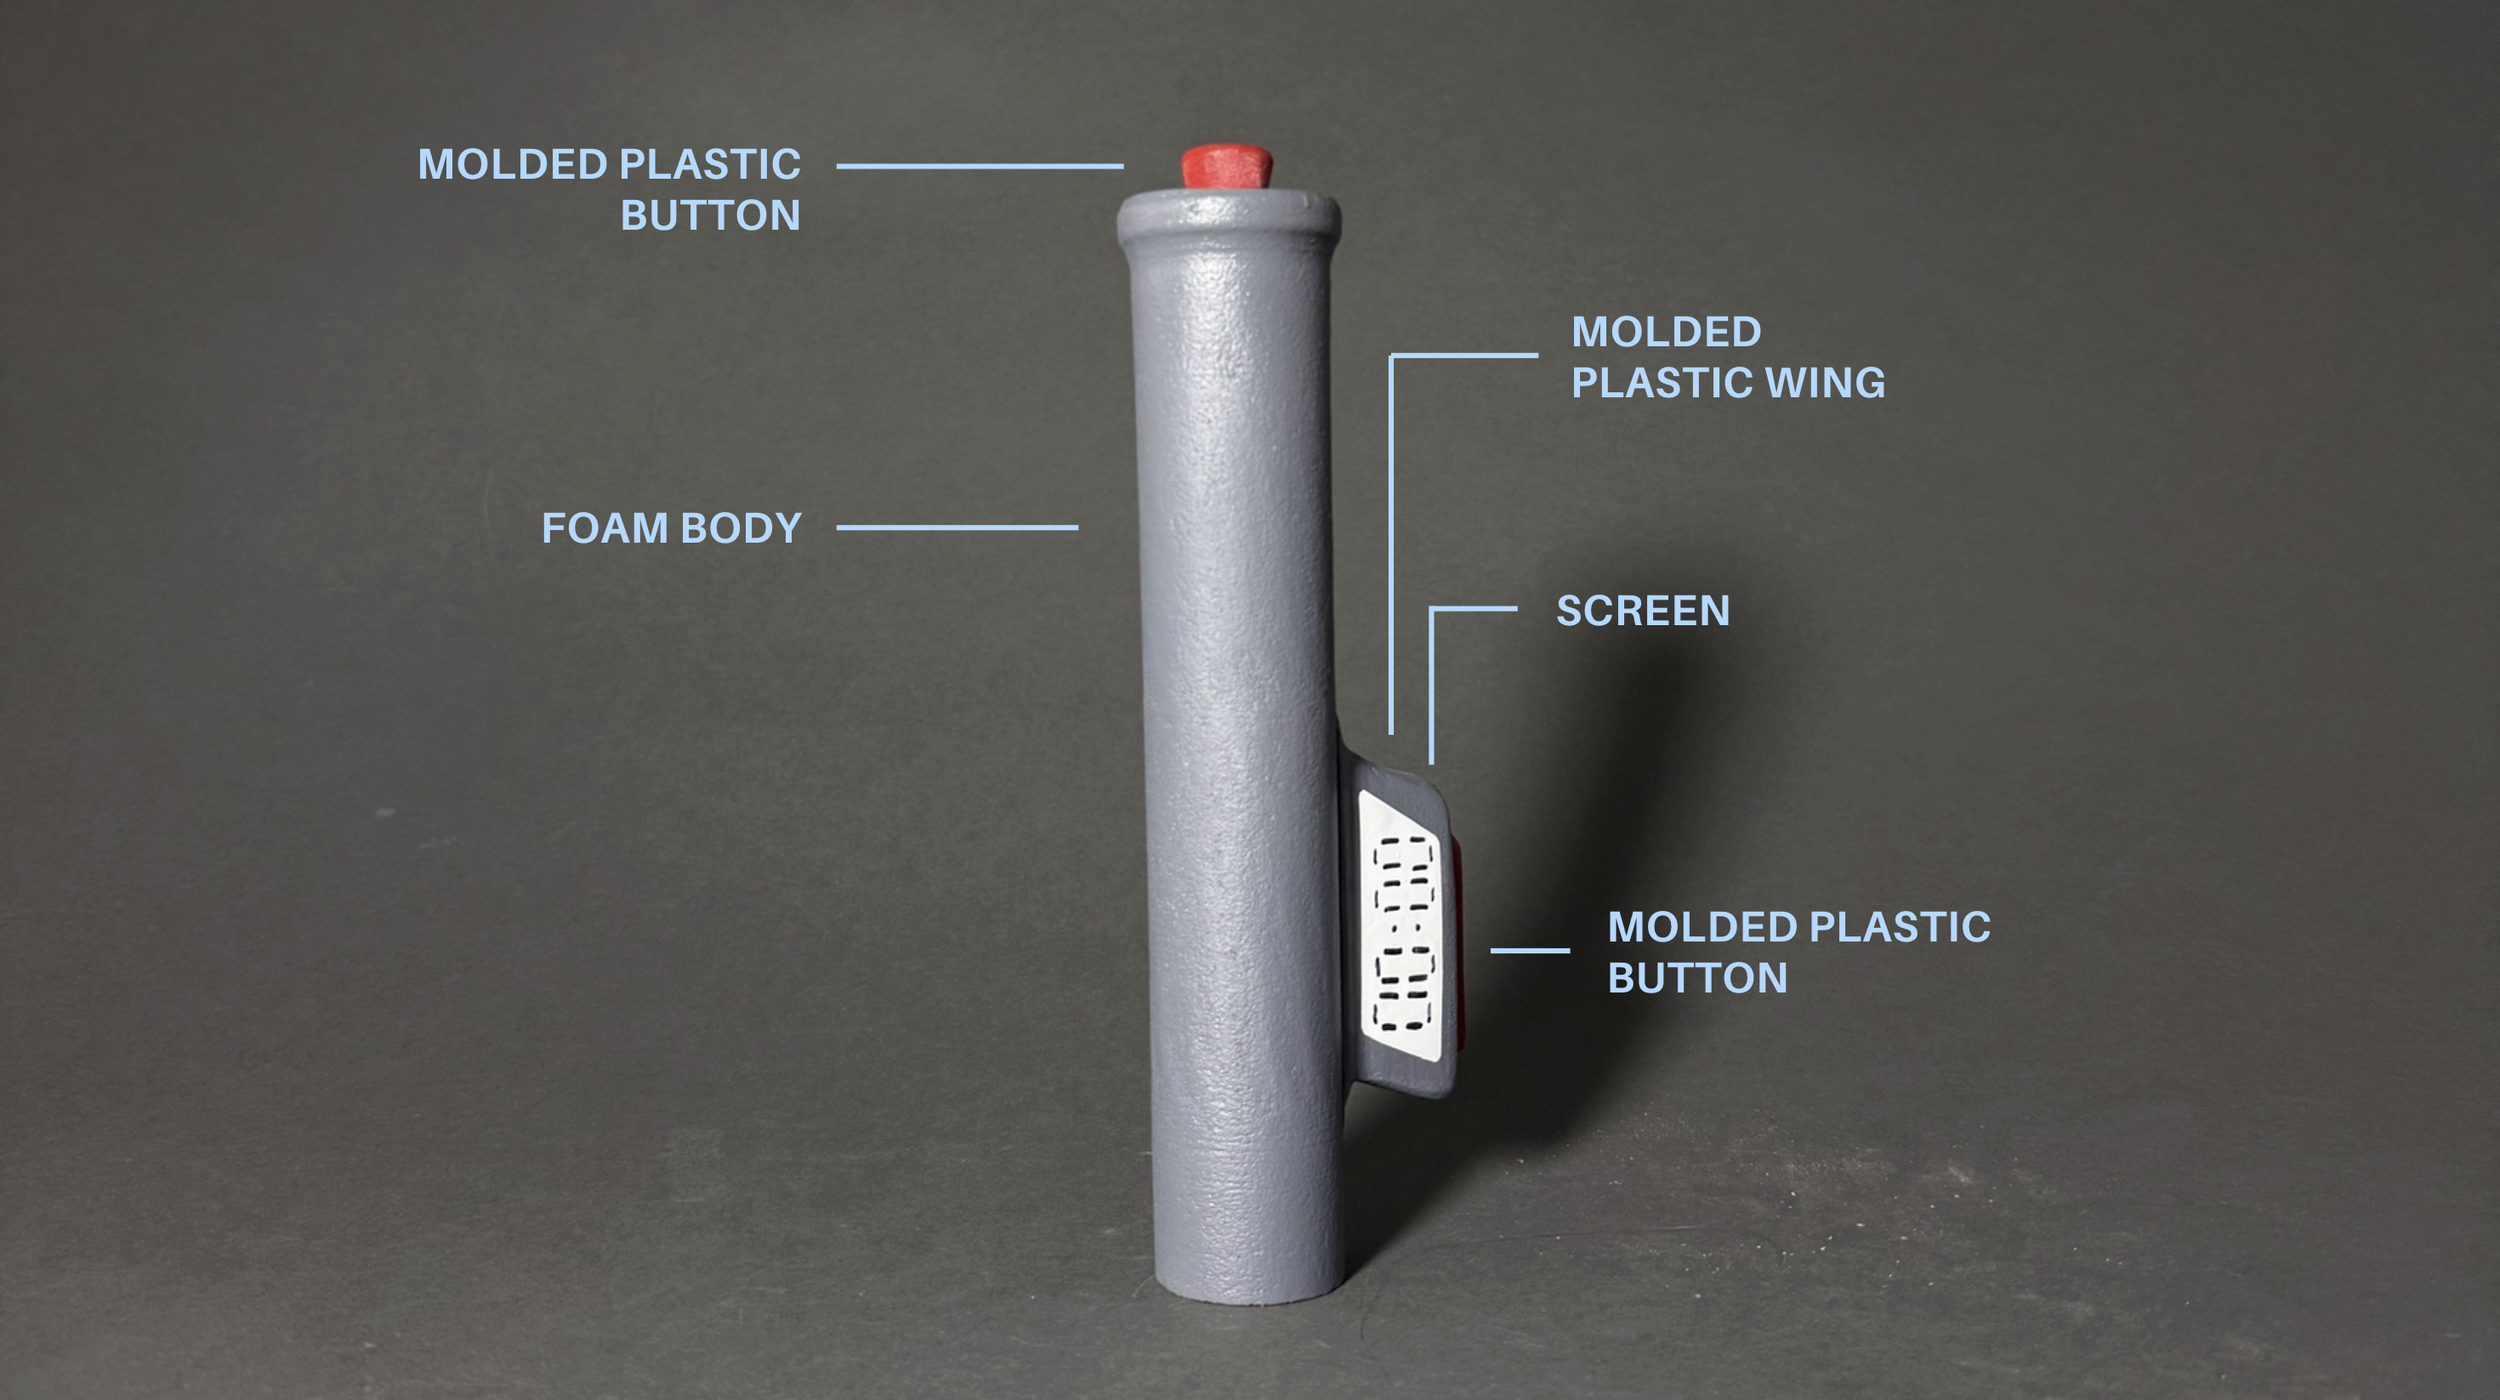
For the final models, I used foam with acrylic components. The main, cylindrical forms were made on a lathe, and the buttons, legs, and screen wing were hand carved with a small knife. The red caps on the legs are made of laser cut acrylic rings around a wooden dowel. The “screen” is made of sticker paper.
Once every component was cut out, they were glued together with wood glue, spackled to fill in the holes, primed, and painted gray and red. The red signifies buttons or moving parts, while the minimalistic, gray bodies prevent distraction during play.
Stopwatch grip in use
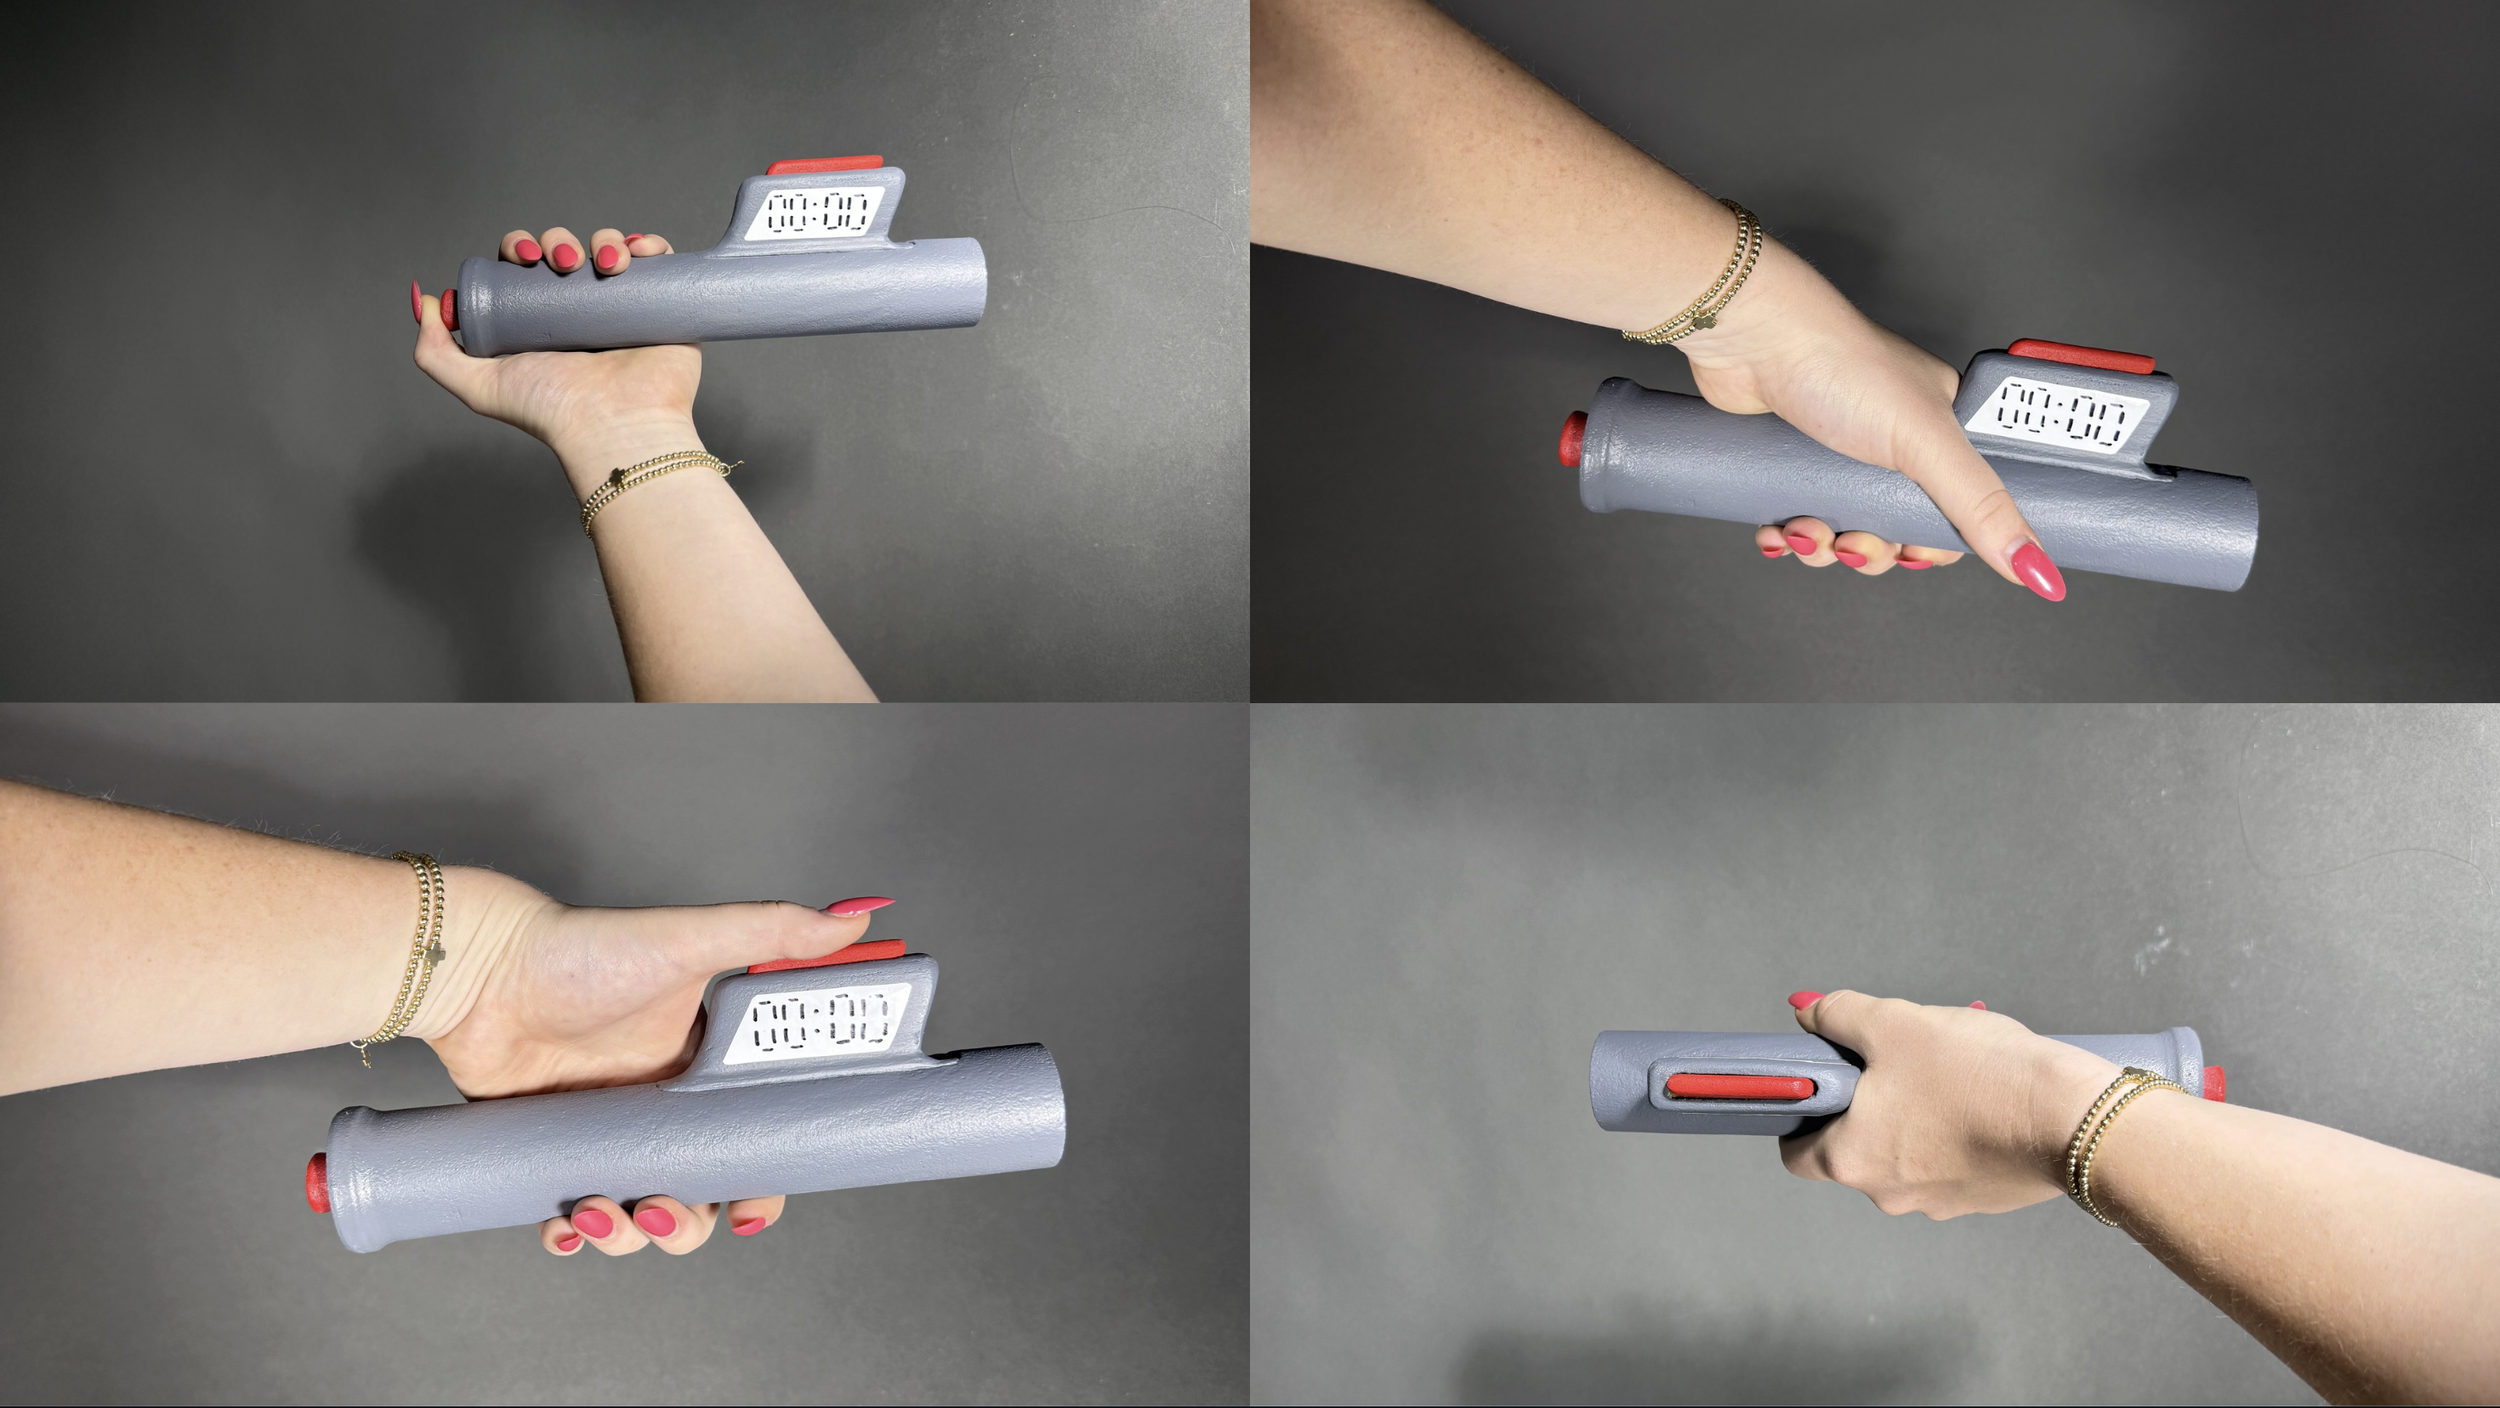
The rectangular button on top of the screen is the start/stop button, so that the sweeper can easily go from pressing the button to gripping their thumb around that wing. The reset button is on the end and requires the athlete to hold the button down to reset in order to prevent accidental resets during play.
Stabilizer grip in use
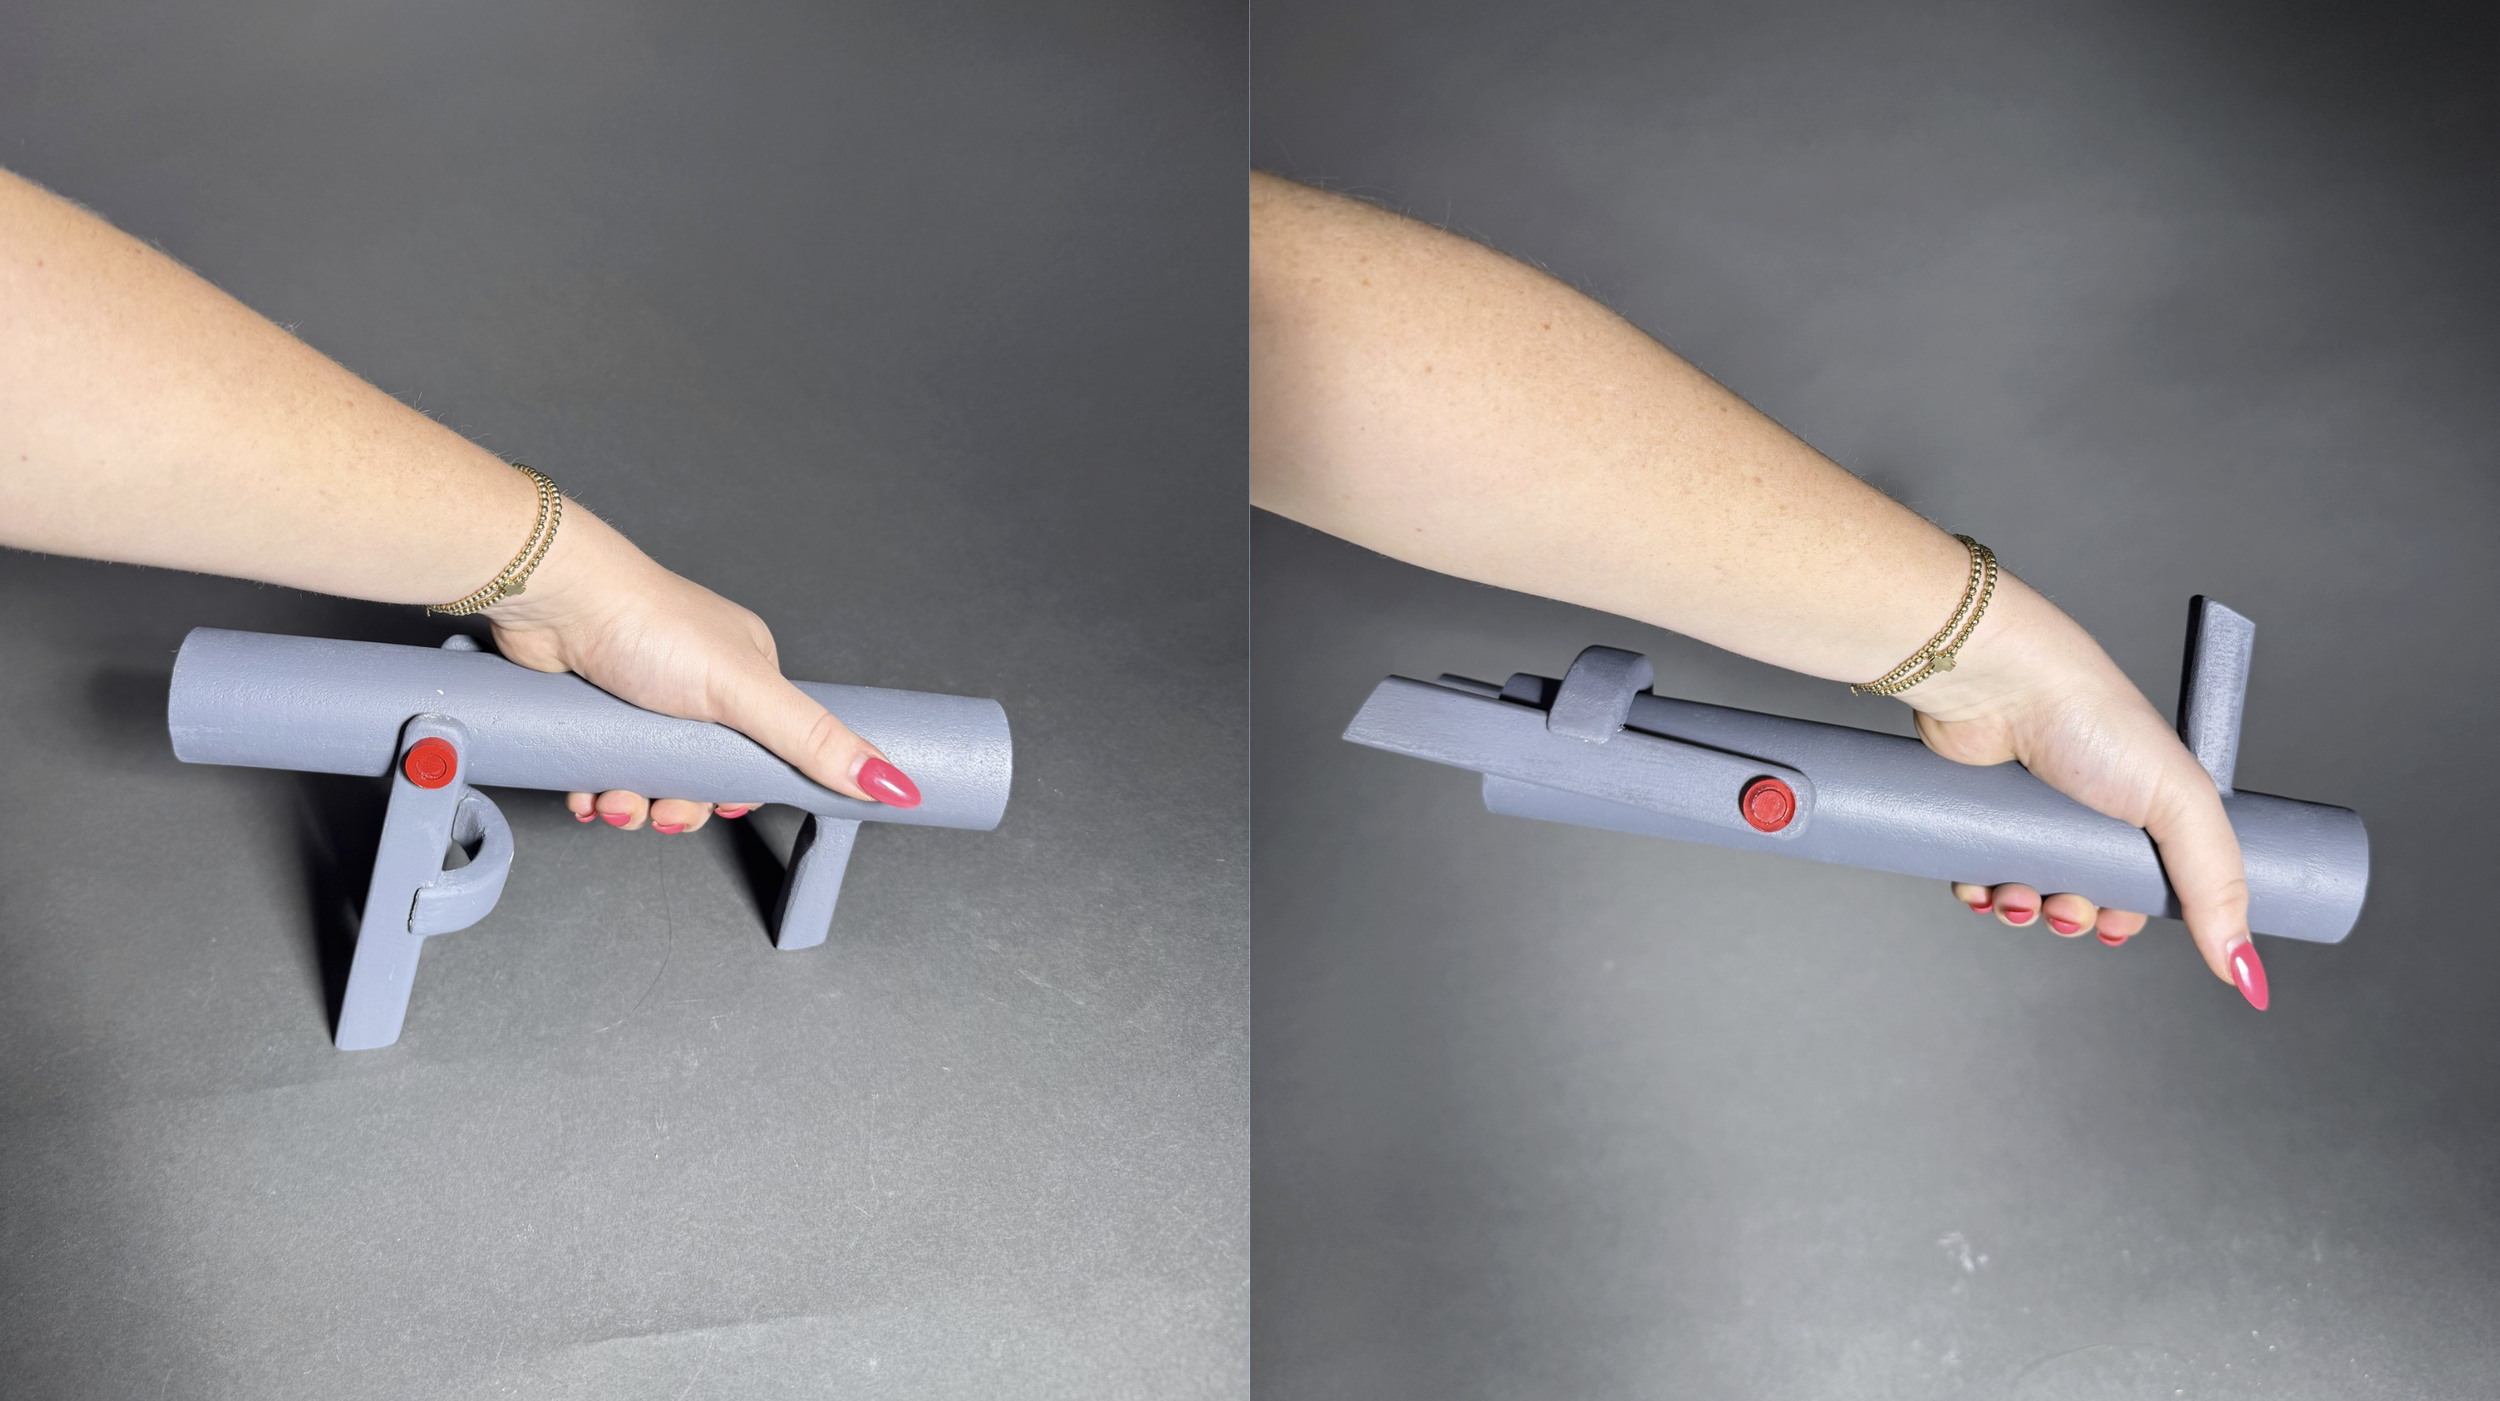
The photo on the left shows how the attachment is held during the throw. It creates a more stable base, while still keeping the broom at an angle to teach proper form. When it’s time to sweep, the curler simply flips the legs and grips the divot under the front leg, encouraging proper hand position low on the broom.
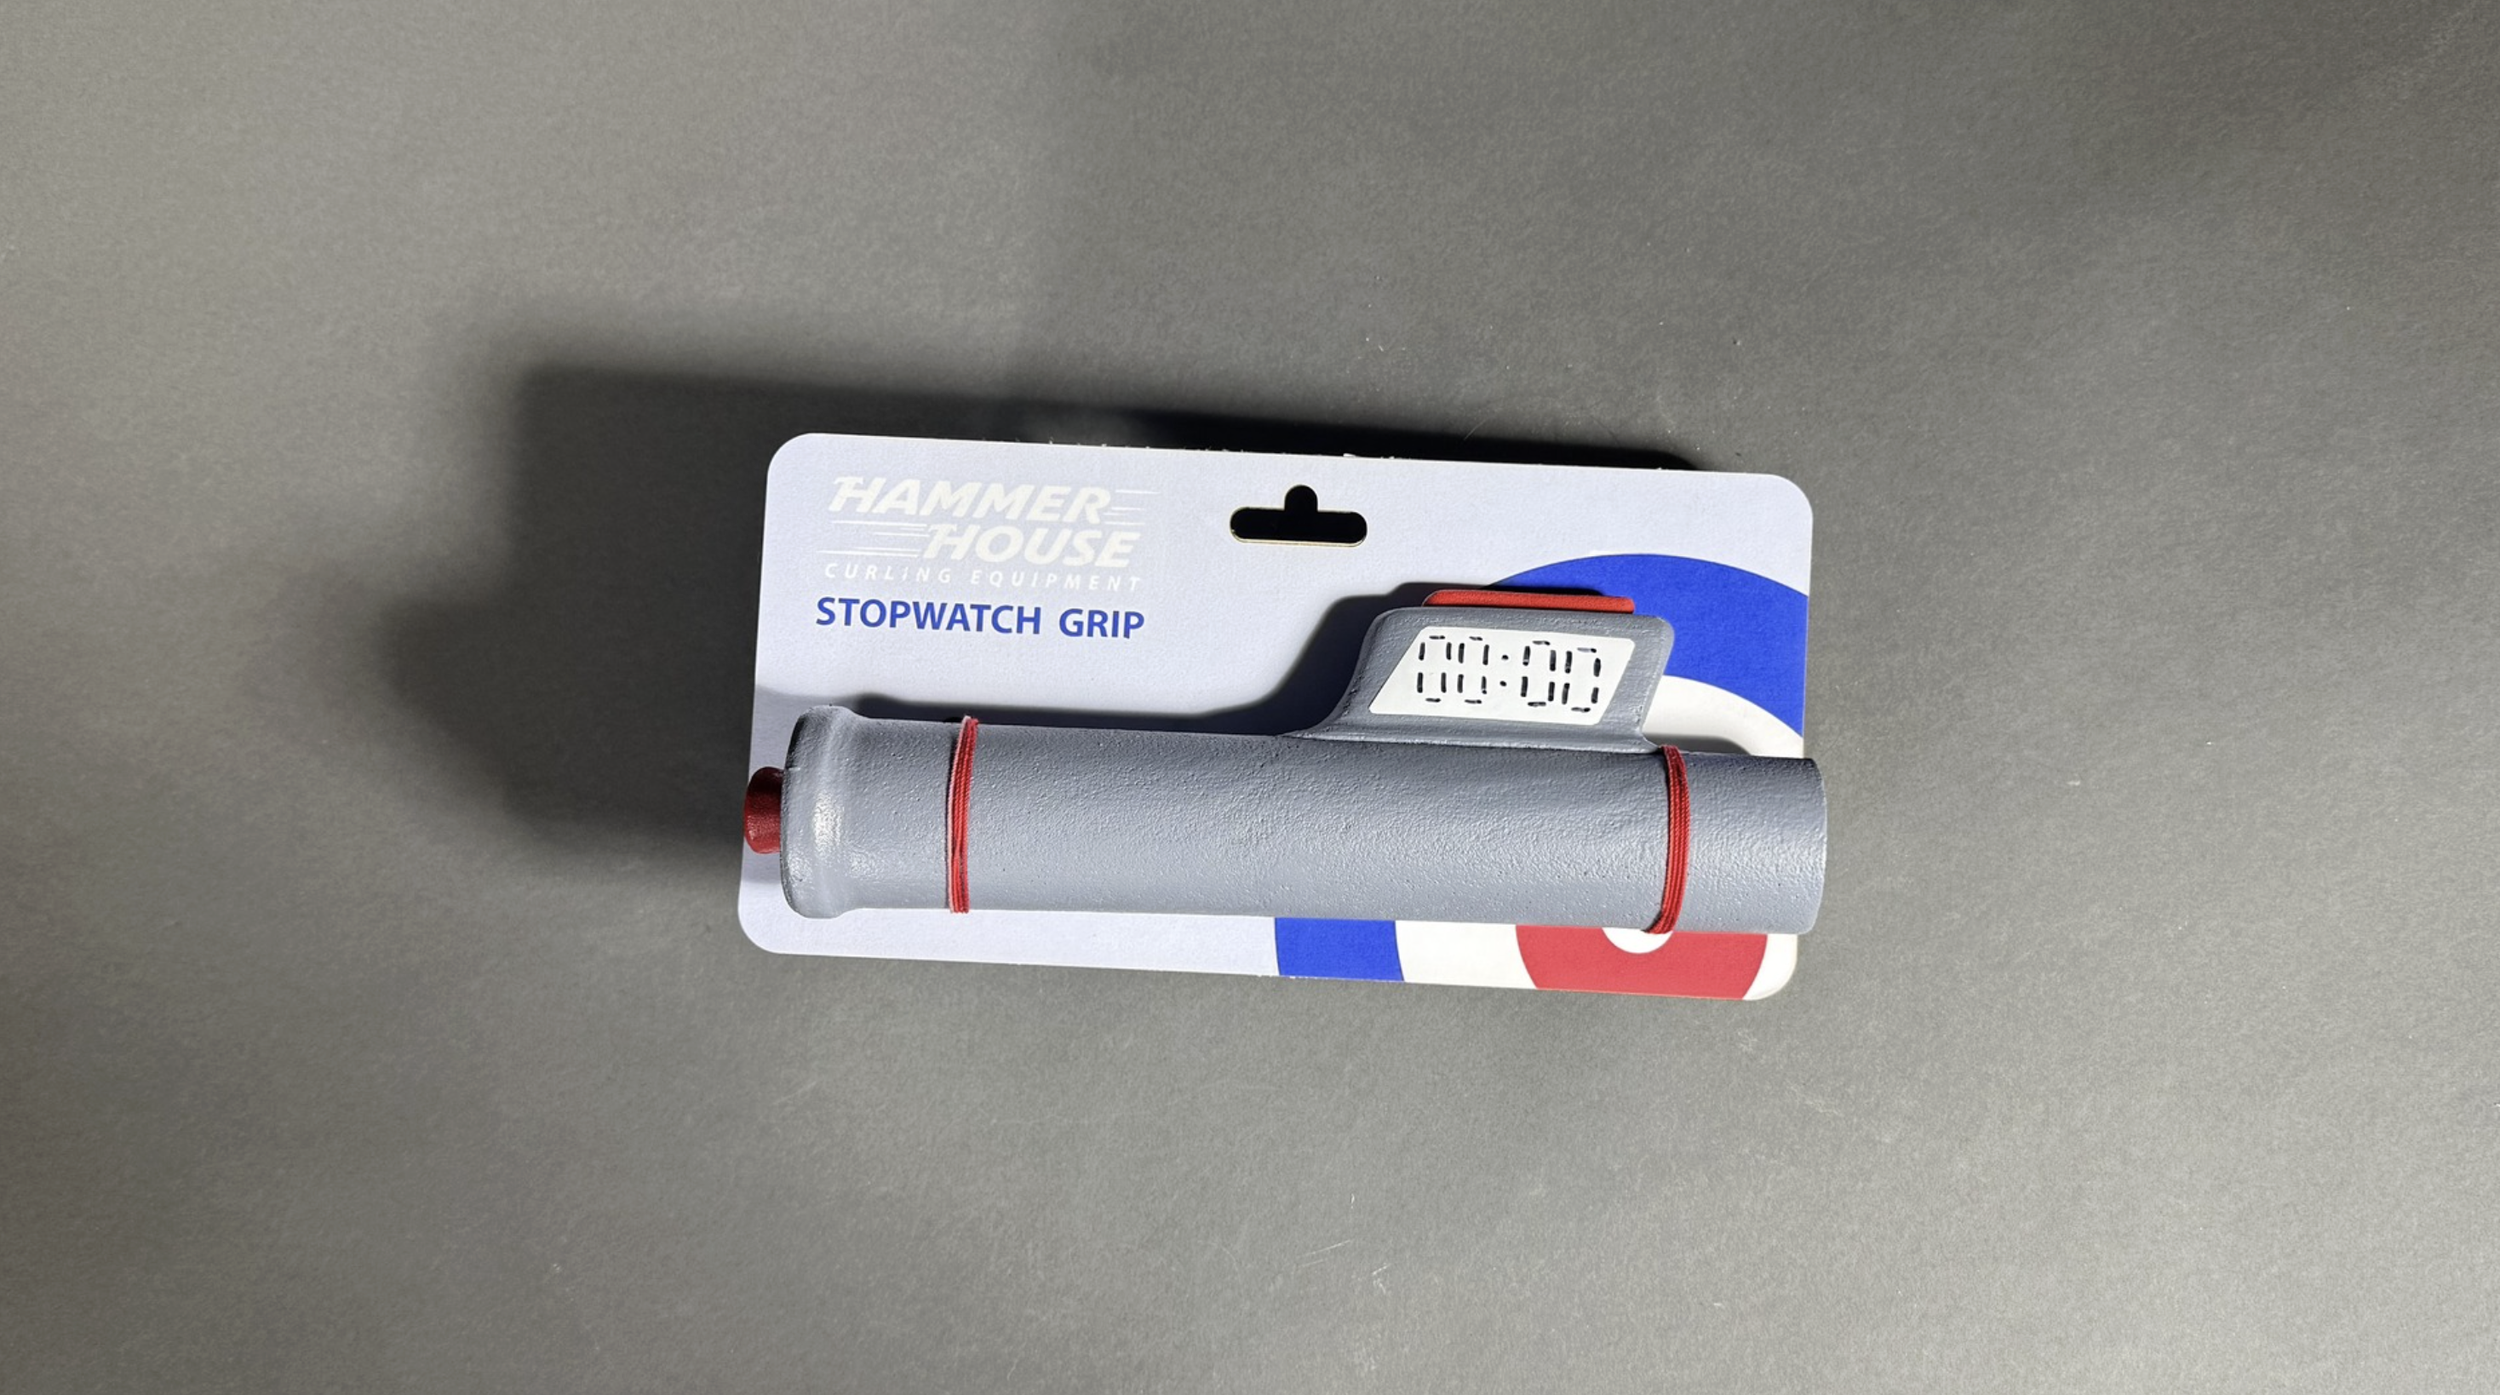
branding
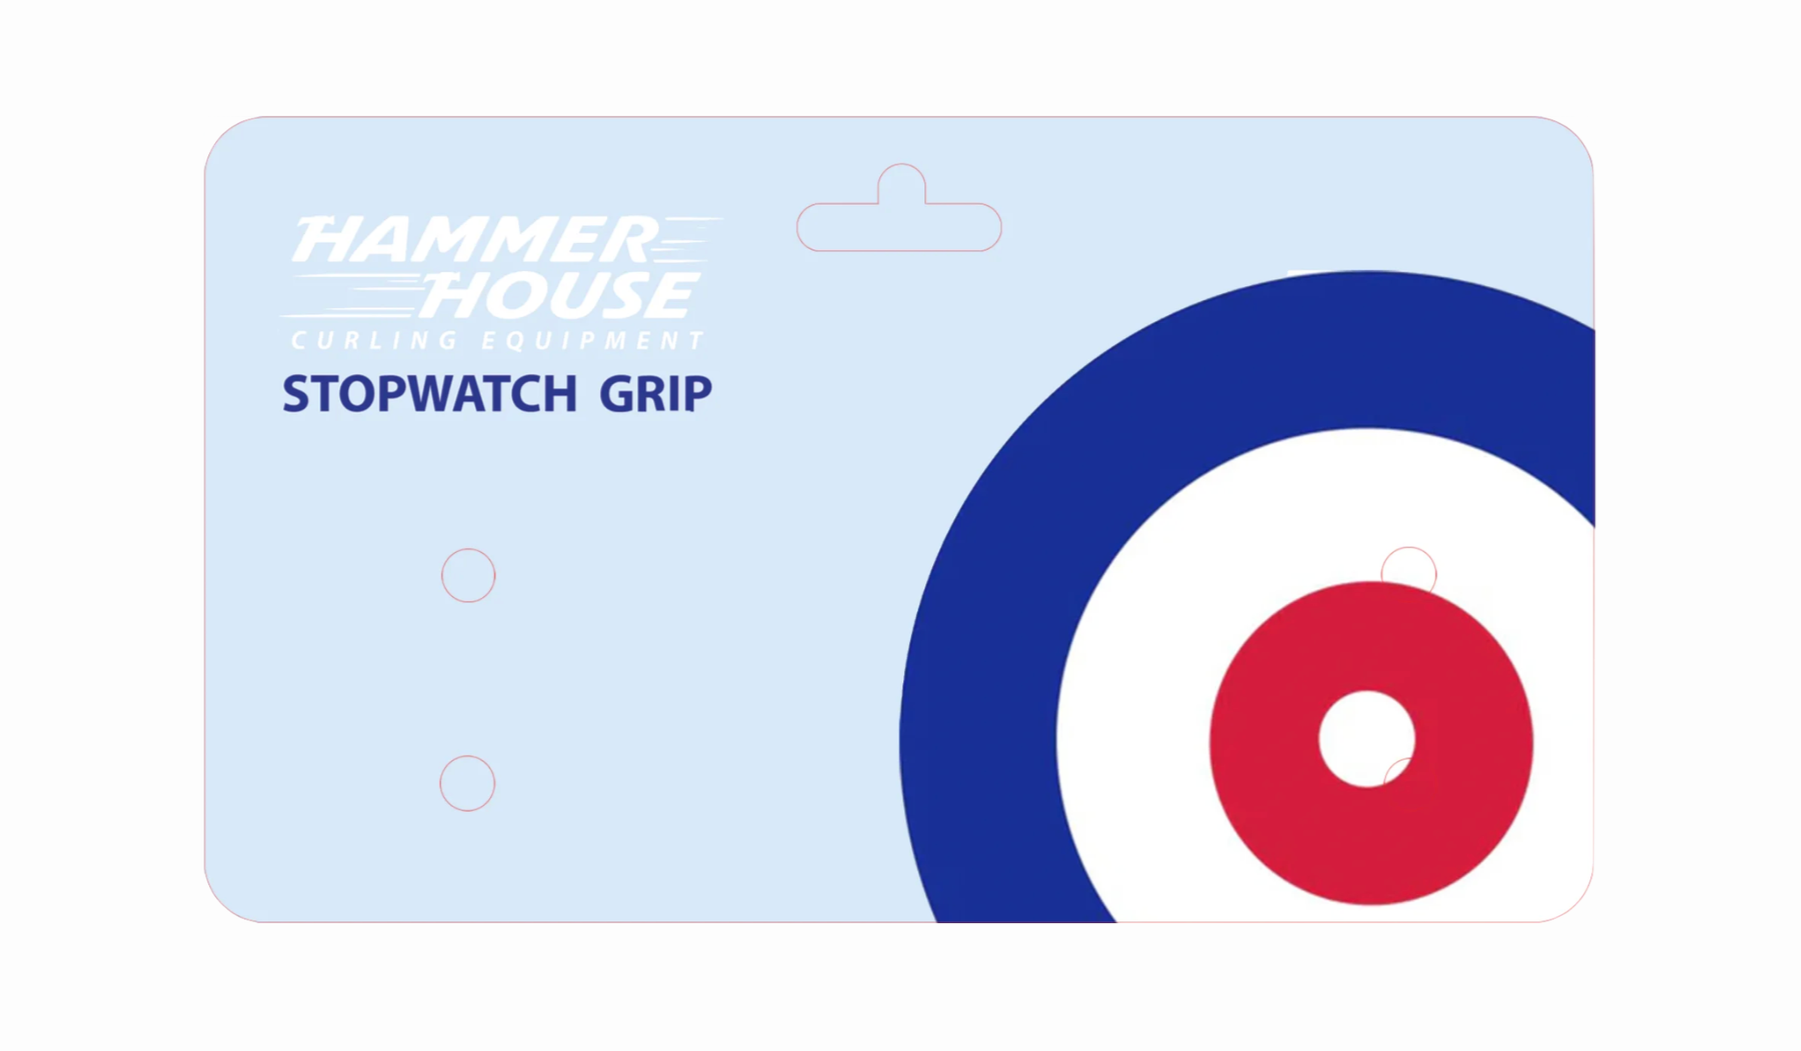
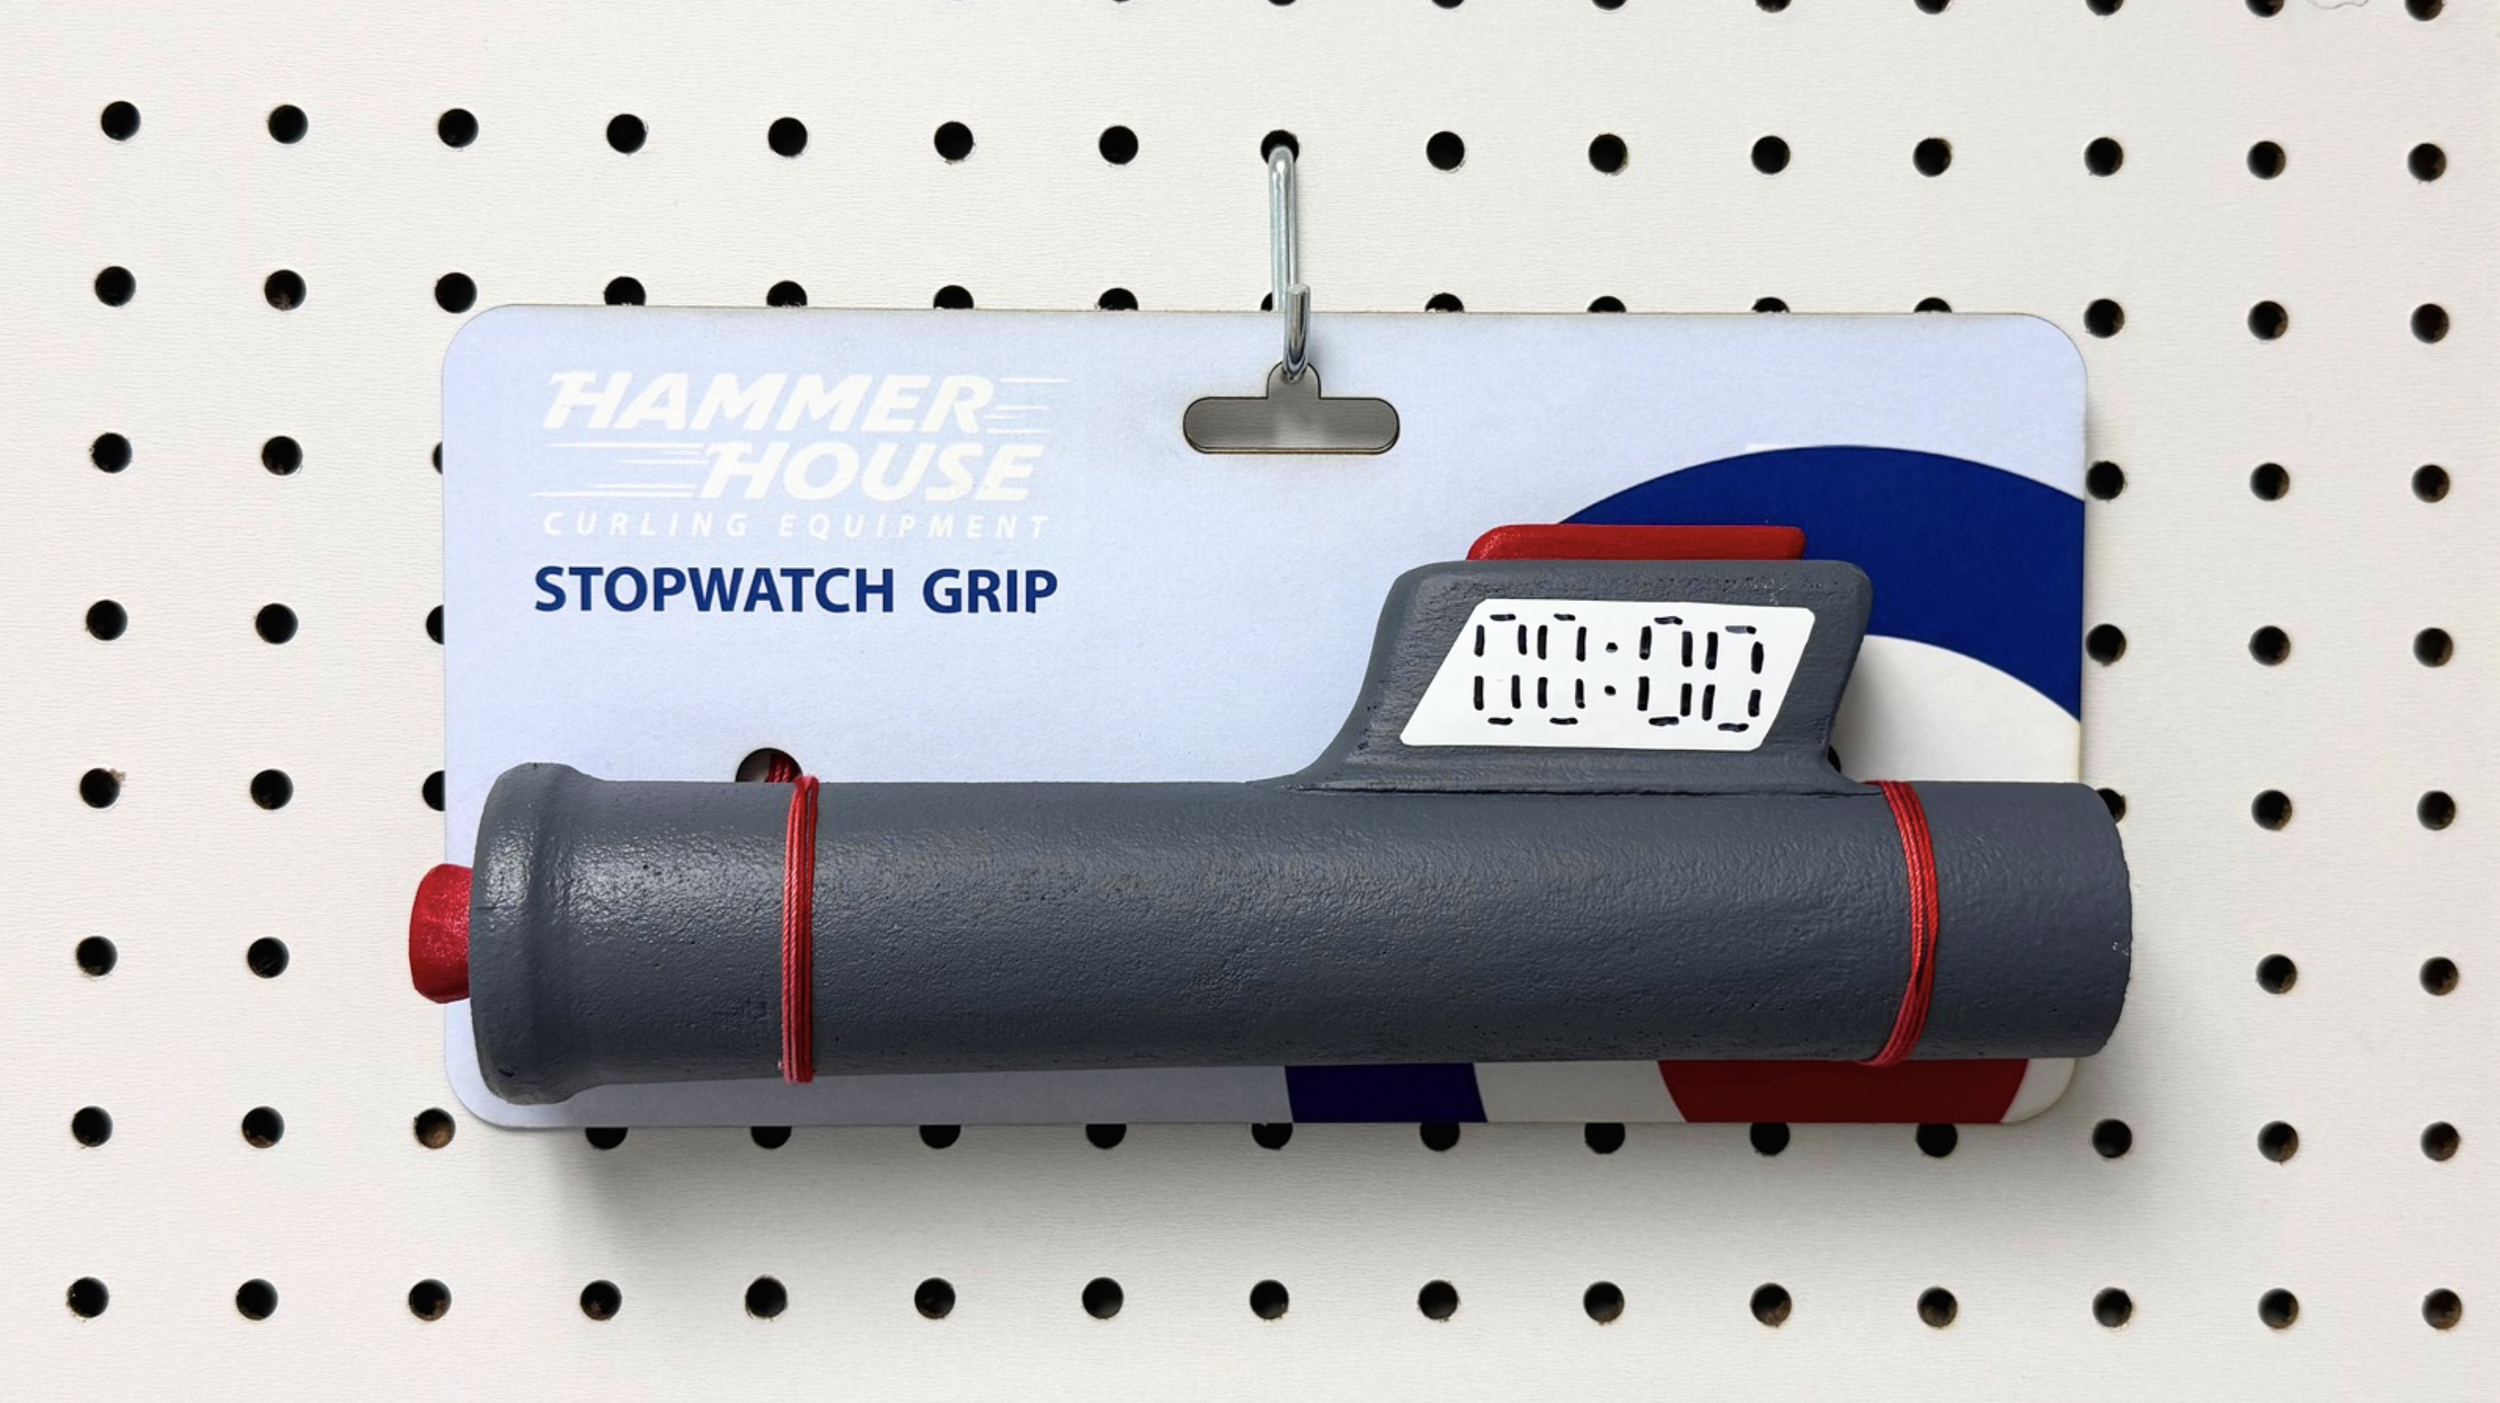
I created a brand - Hammer House Curling Equipment - to go with these products and designed a logo and package card in Adobe Illustrator. I adhered the package design onto cardboard and laser cut it out. From there, I secured the product to the packaging card with string.